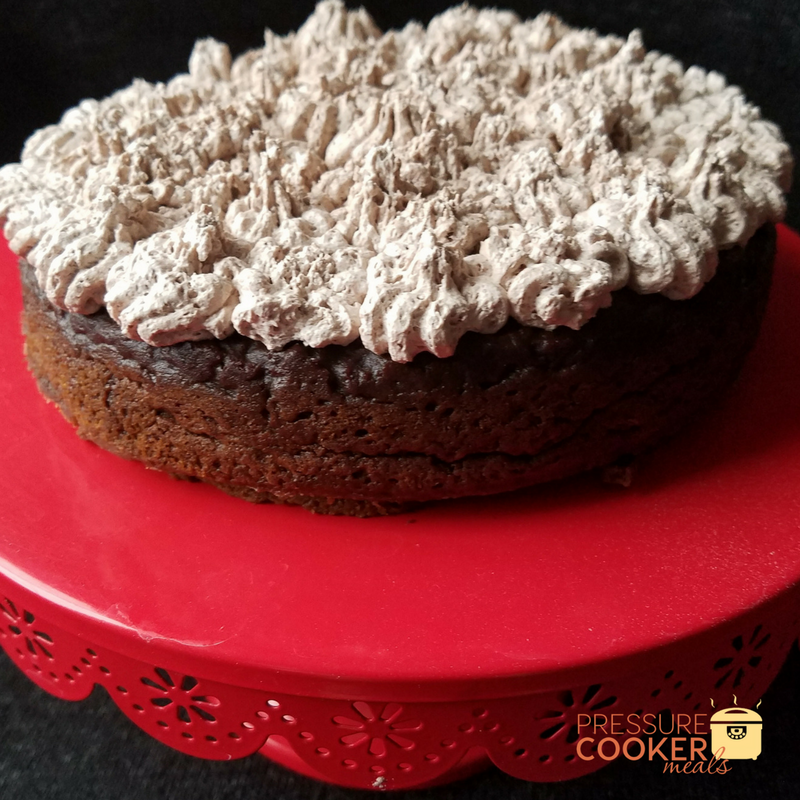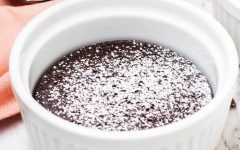
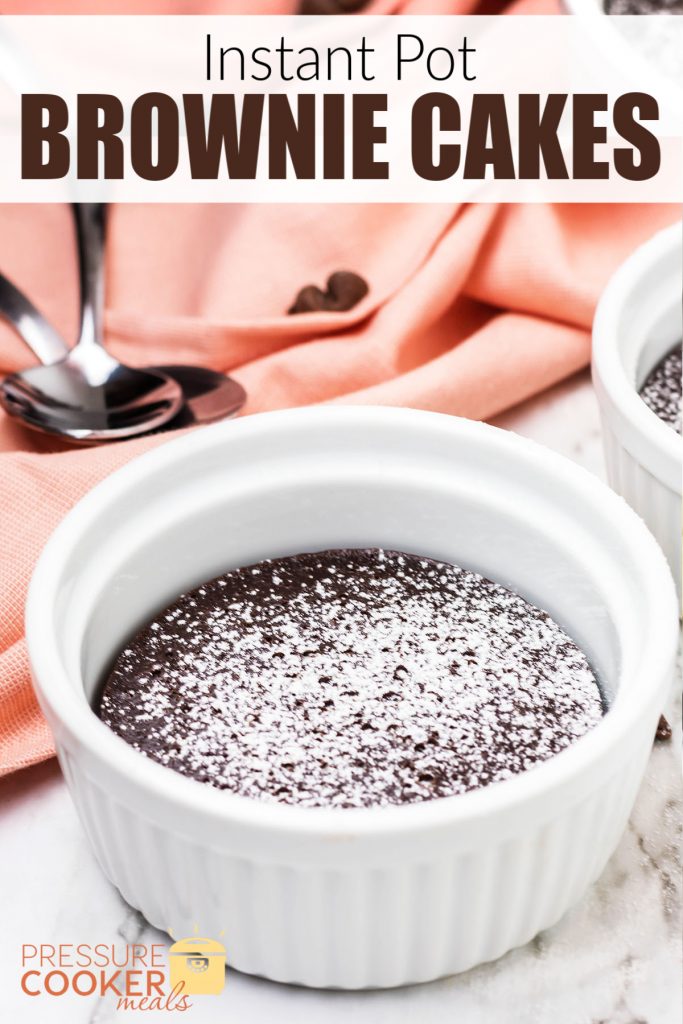
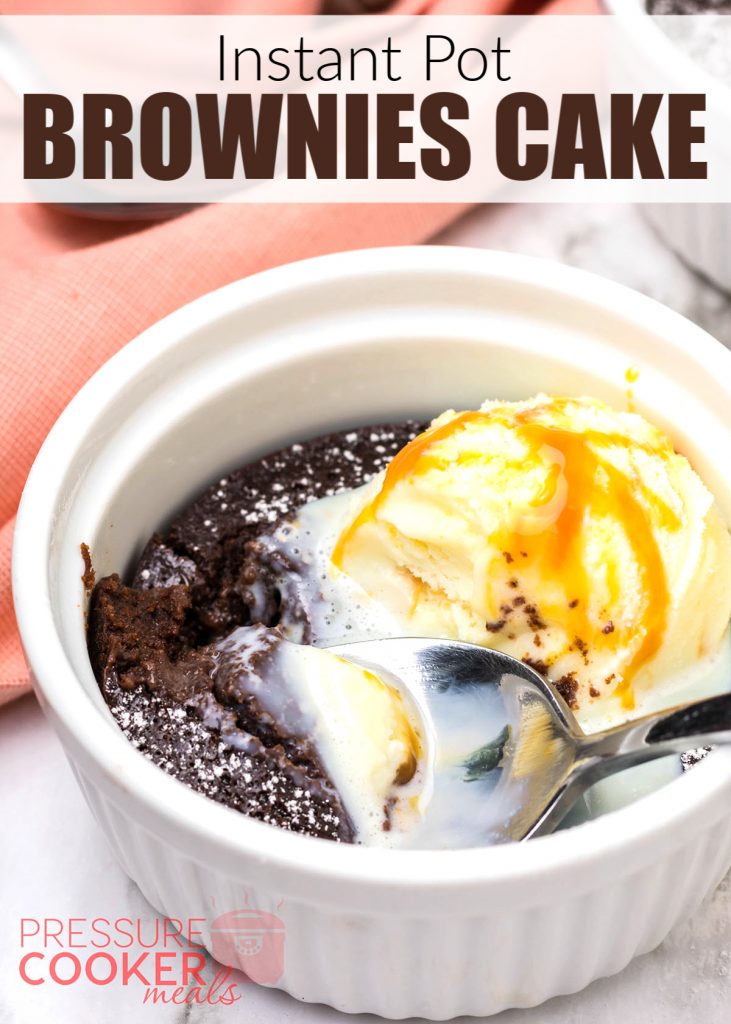
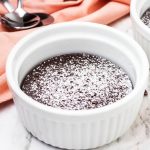
If you’re having a chocolate craving, these from-scratch brownie cakes are a perfect mix of fudgy, cakey, and oh-so-rich and chocolatey. Keep reading for the Instant Pot Brownie Cake Recipe.
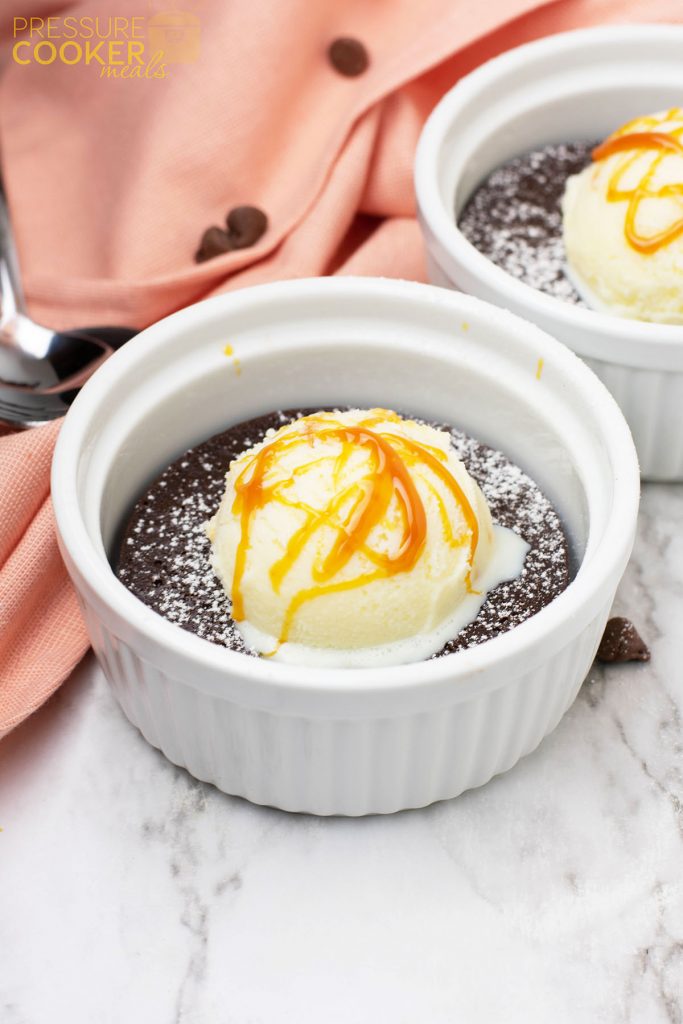
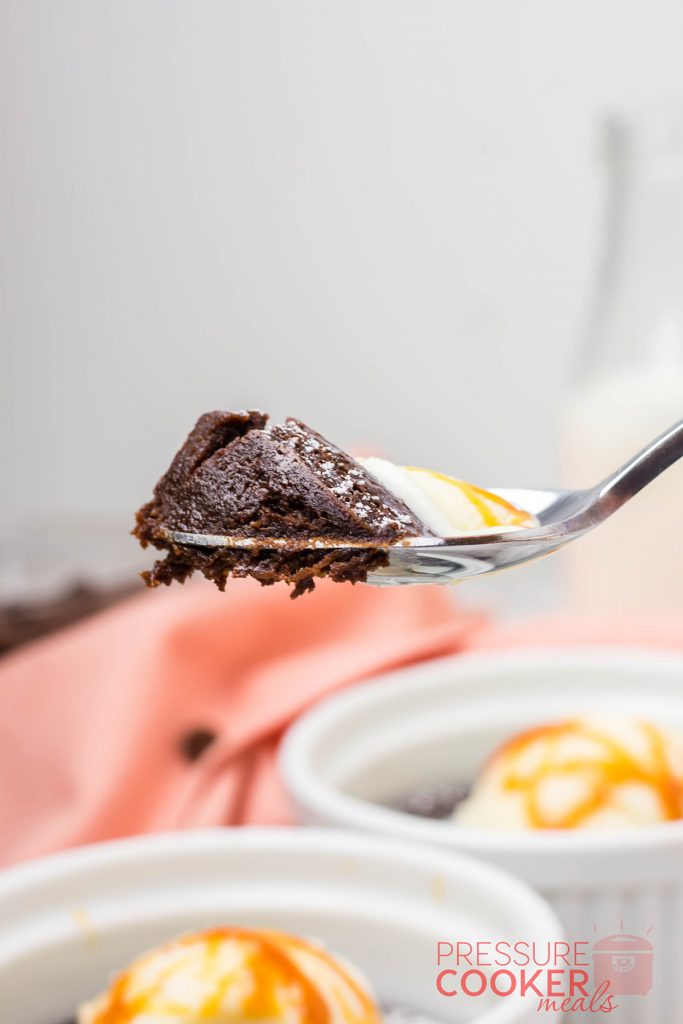
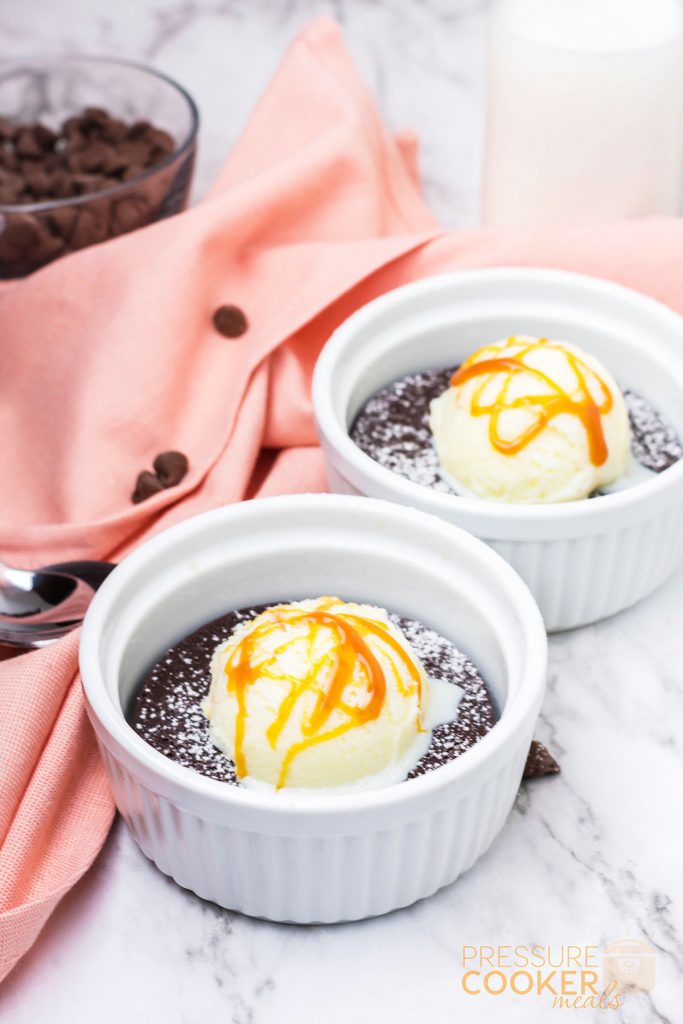
The texture is amazing and the sky is the limit with toppings… powdered sugar, caramel, ice cream, whipped cream, nuts… I could keep going! Best part? You’re only making a small amount so you can enjoy them without having a ton of leftovers to tempt you tomorrow!
I know it’s been a while since I updated, but I’ve still been using our Instant Pot and I’ve been taking lots of pictures of what we’ve been eating–so I have quite a few recipes to put up and post including this Instant Pot Brownie Cake!
Bonus… since it’s almost Valentine’s Day – this would be a perfect Valentine’s Day dessert for your sweetheart! Or even for your kids – I know mine would love having little single-serve individual desserts for a special occassion!
I will say that making desserts in the Instant Pot is still a little bizarre to me; however, after a lot of success with cheesecakes, I’m starting to come around to the idea! Besides, these Instant Pot Brownie Cakes are addictive!!
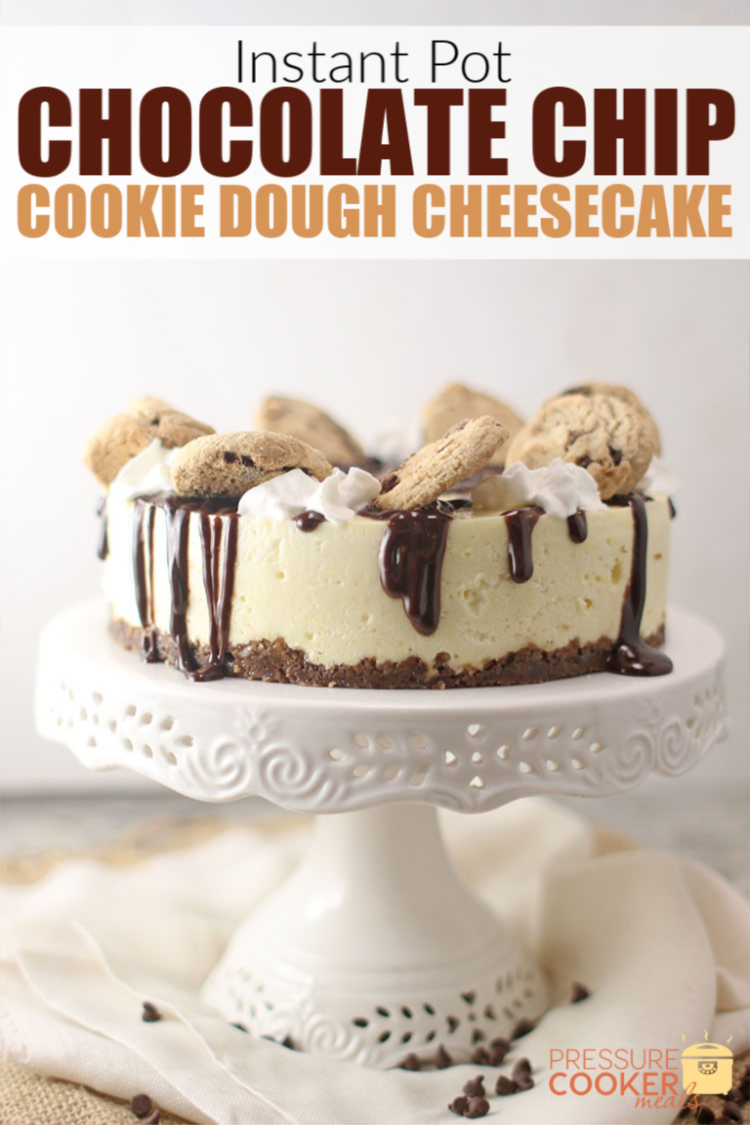
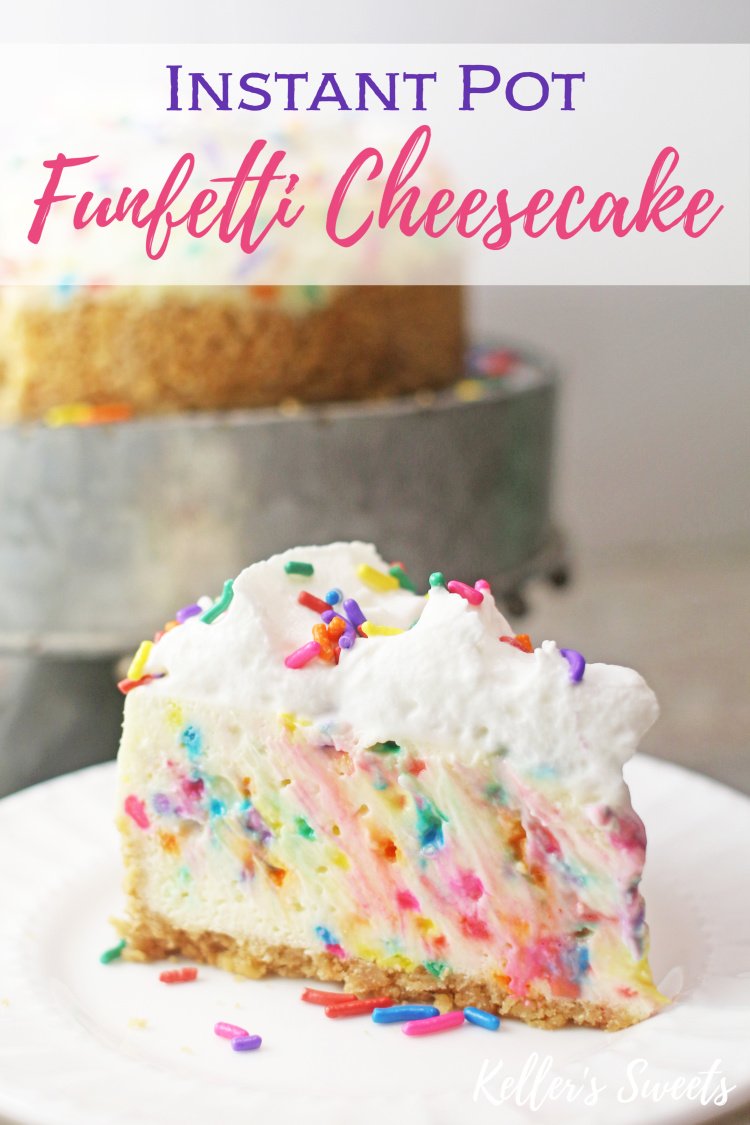
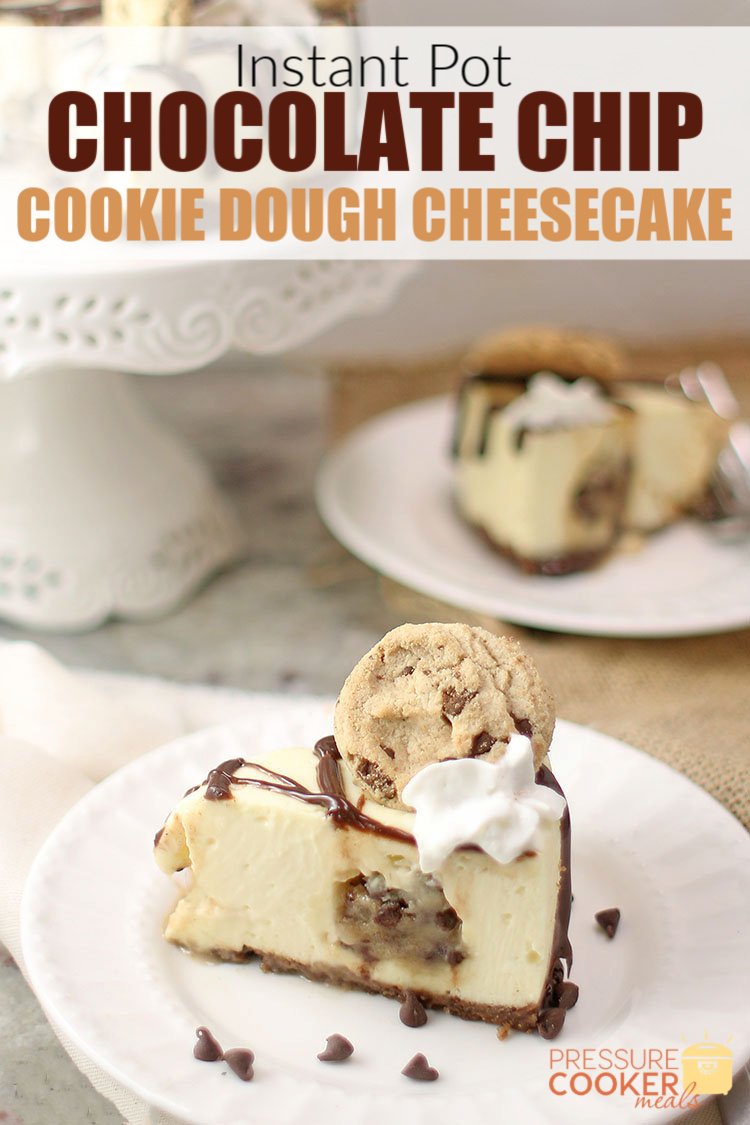
Speaking of cheesecake, check out this Instant Pot Chocolate Chip Cookie Dough Cheesecake. It’s to-die-for!!
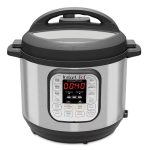
Before you can start making desserts in your pressure cooker, you should really invest in small bowls or ramekins that are heat-resistant. I have a list of my favorite Instant Pot Accessories here.
Here are some other tools I recommend:
Tools for Instant Pot Desserts:
 Buy Now →
 Buy Now →
 Buy Now →
How to make Instant Pot Brownie Cakes.
Here are the ingredients you’ll need for Instant Pot Brownie Cakes:
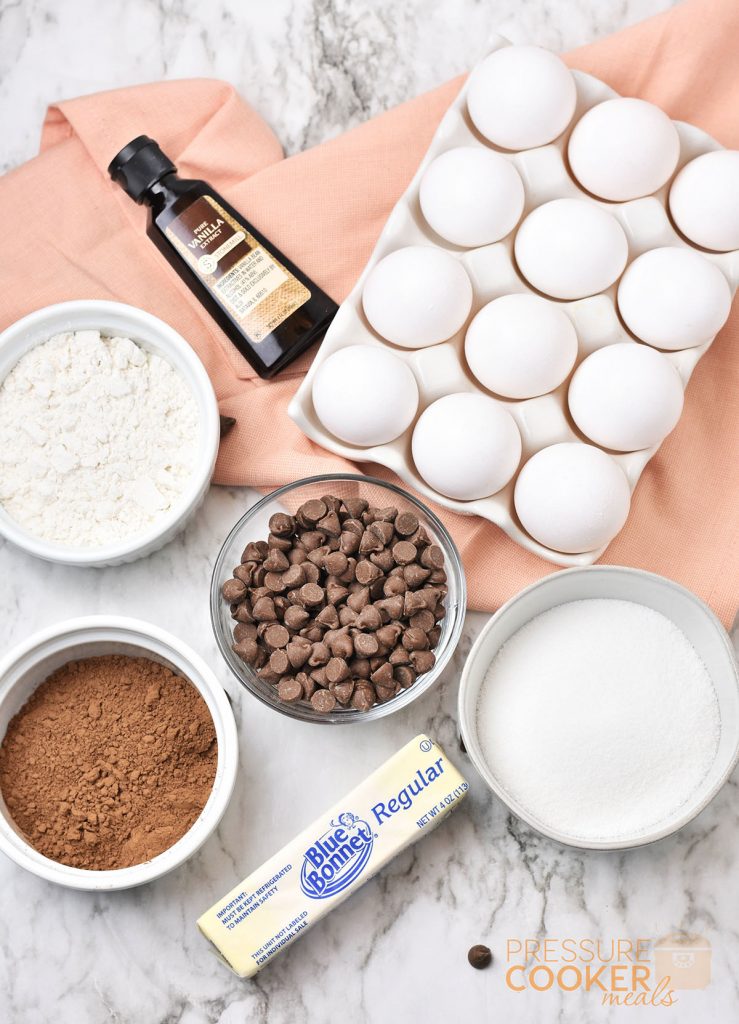
- Vanilla Extract
- All-purpose flour
- Cocoa powder
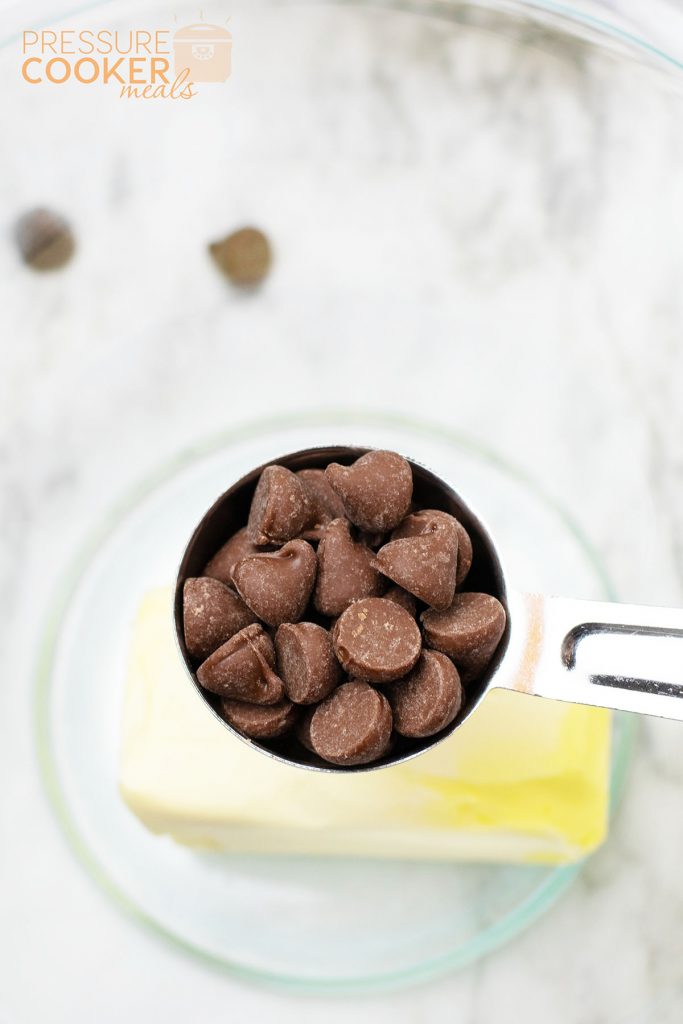
- Chocolate Chips
- Butter
- Sugar
- Eggs
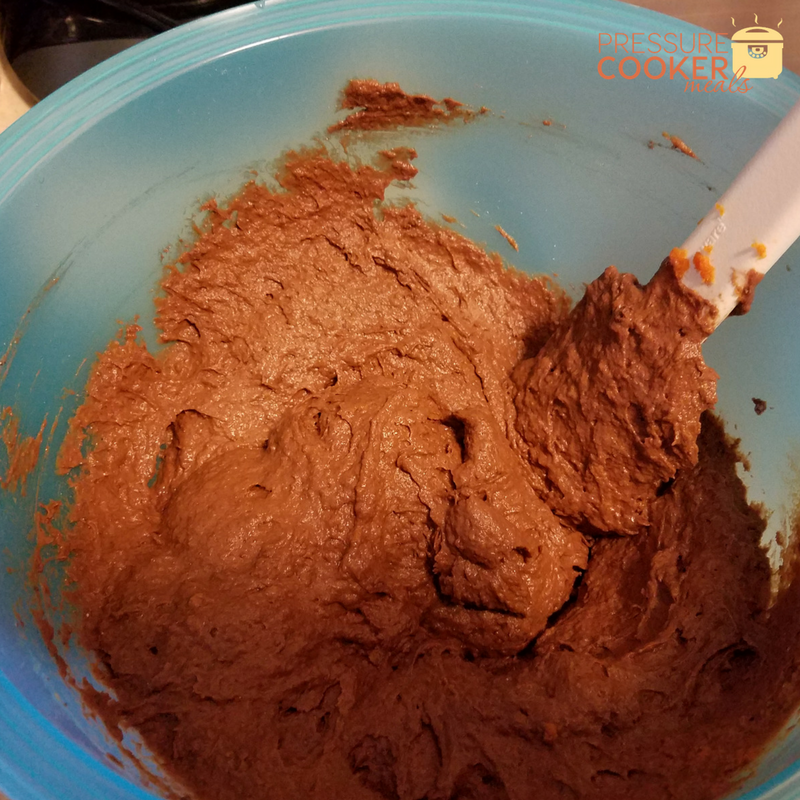
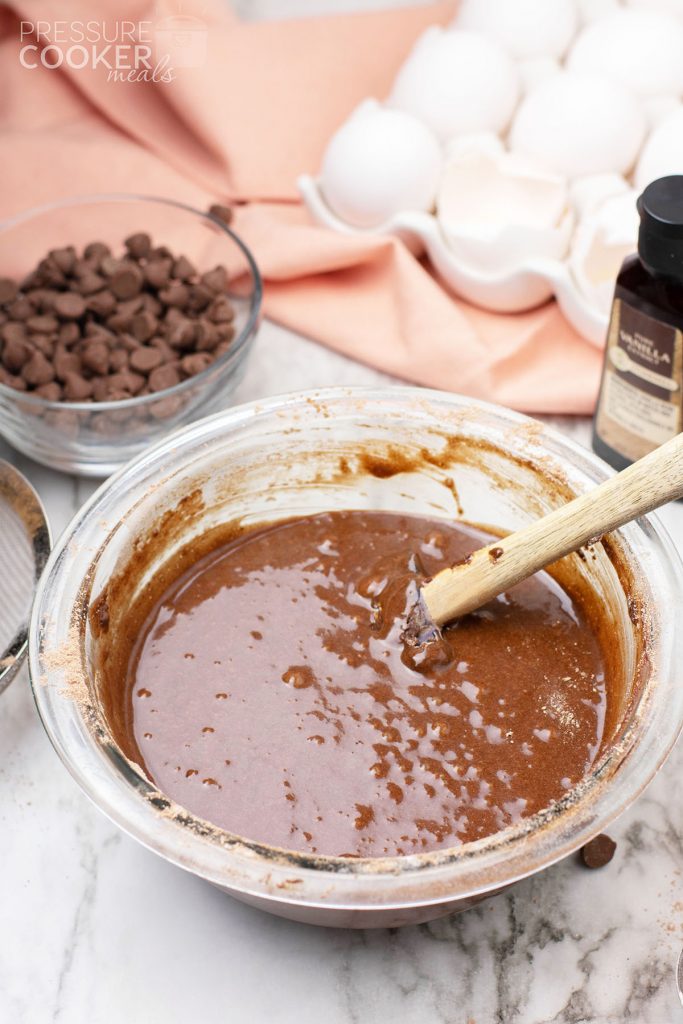
First, in a microwave-safe bowl, microwave the butter and chocolate chips until melted (about 1 minute) then transfer them to a mixing bowl and add the sugar and beat until mixed.
Next add egg and vanilla and beat until all is smooth.

Then sift the flour and cocoa powder over the wet ingredients and beat until combined.

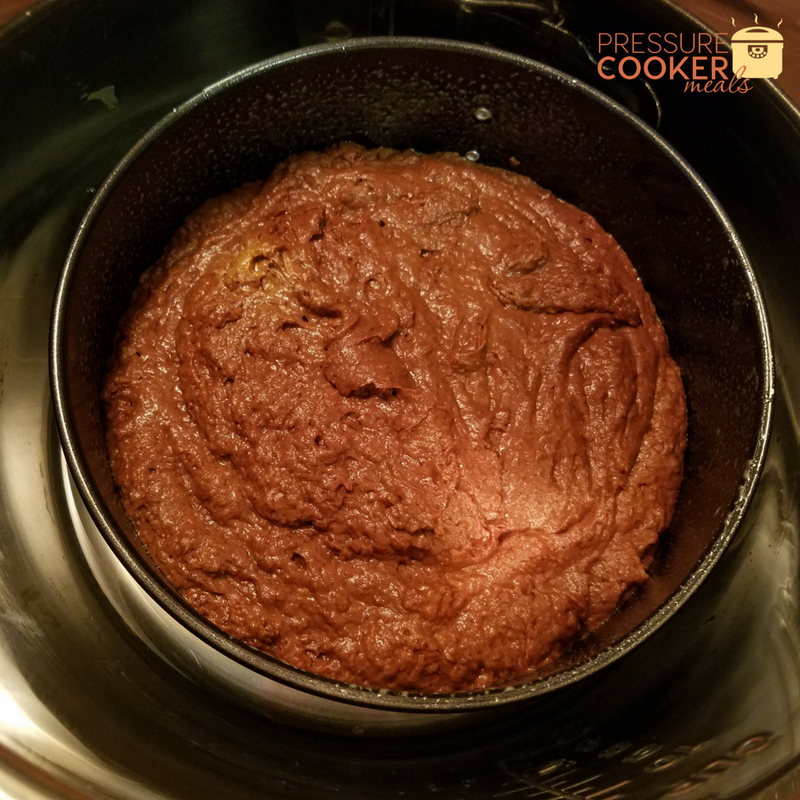
Put your batter into the ramekins (4-ounce or 6-ounce) and place the rack into your pressure cooker. Add a cup of water to the bottom of the pot.
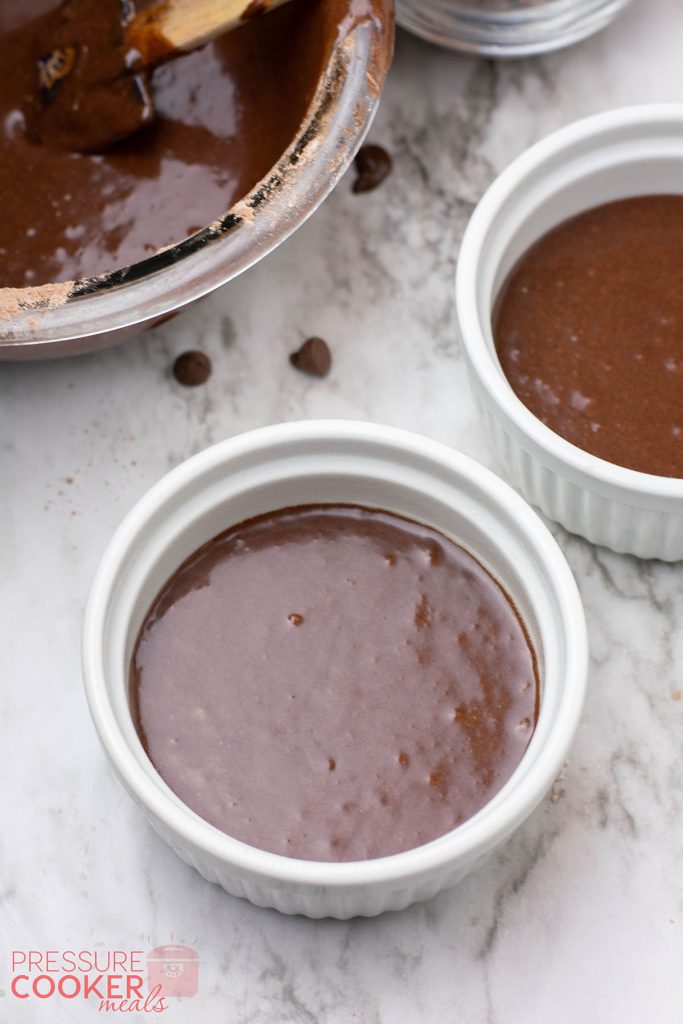
Place your ramekins on top of the rack and cover each ramekin with foil. No need to wrap it in the foil as this is just to keep the condensation out of your dessert.
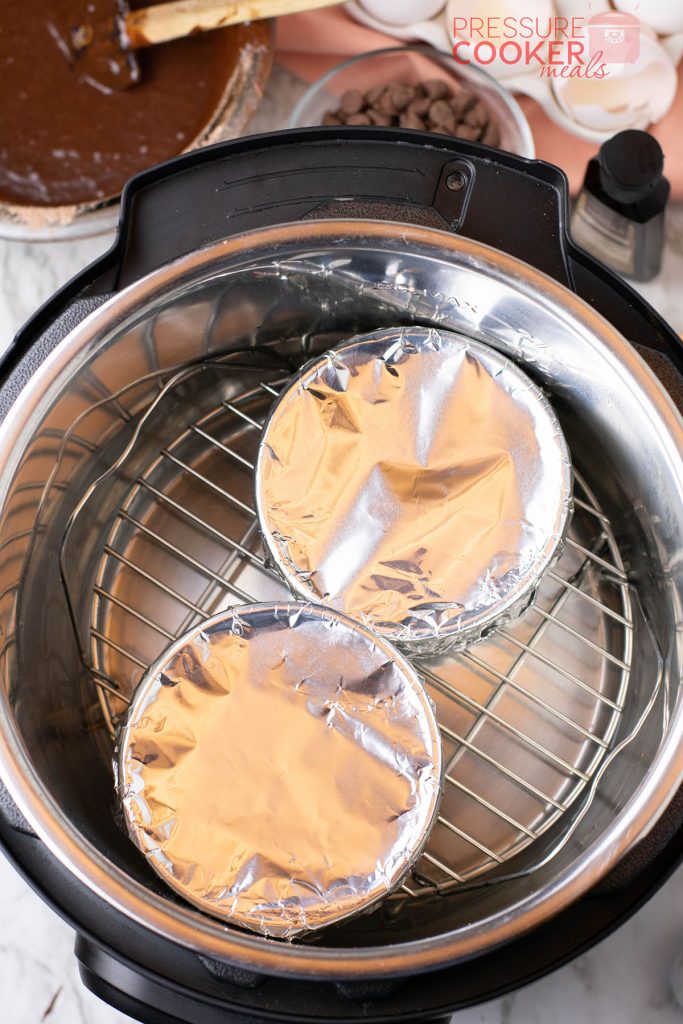
Note: If you use 4-ounce ramekins, you should be able to fit four in at once. With 6-ounce ramekins, you might only be able to fit two at a time. If you do that, just chill the extras while they wait for their turn.
Place the top on and set to 18 minutes on high pressure and use the quick release function on your pressure cooker.
Carefully remove from the pressure cooker and let cool for 5-7 minutes.
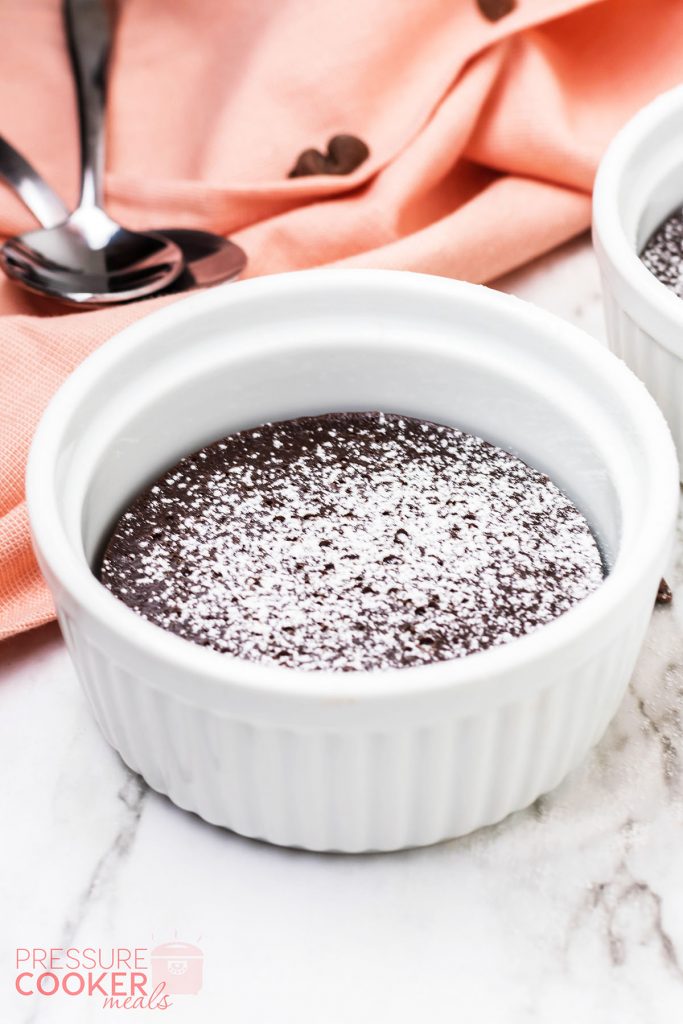
Serve warm, dusted with powdered sugar, or topped with ice cream, nuts, caramel, whipped cream or anything else your heart desires!
Happy Cooking!
Rose
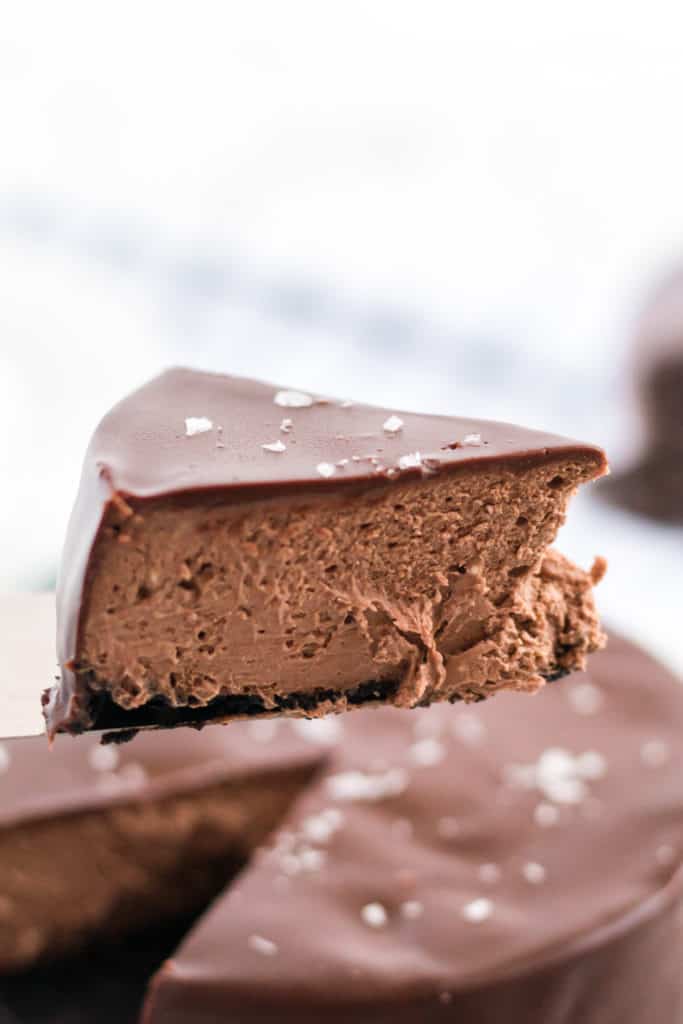
More delicious desserts…
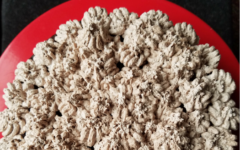
- Pecan Praline Cookies
- Instant Pot Chocolate Chip Cookie Dough Cheesecake
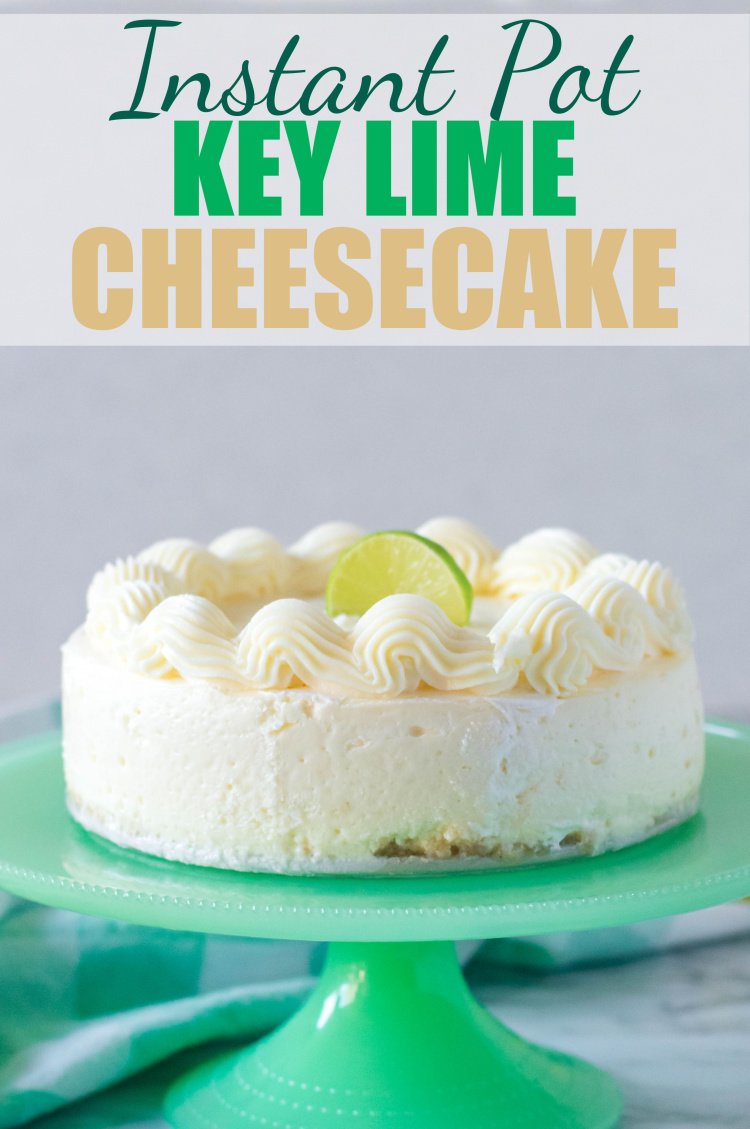
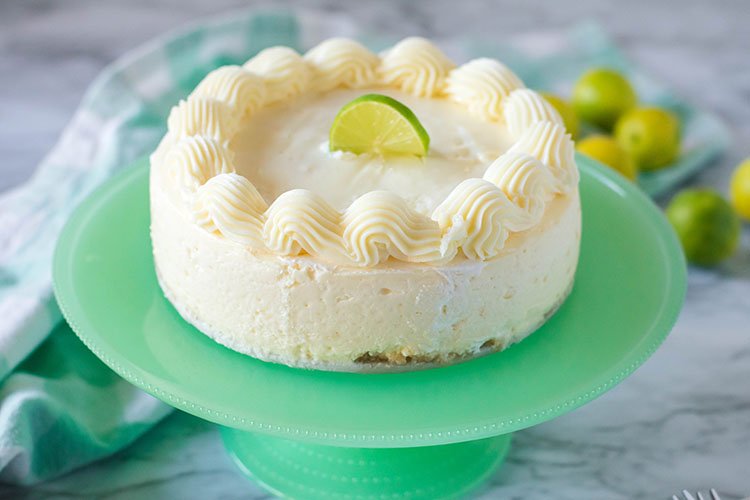
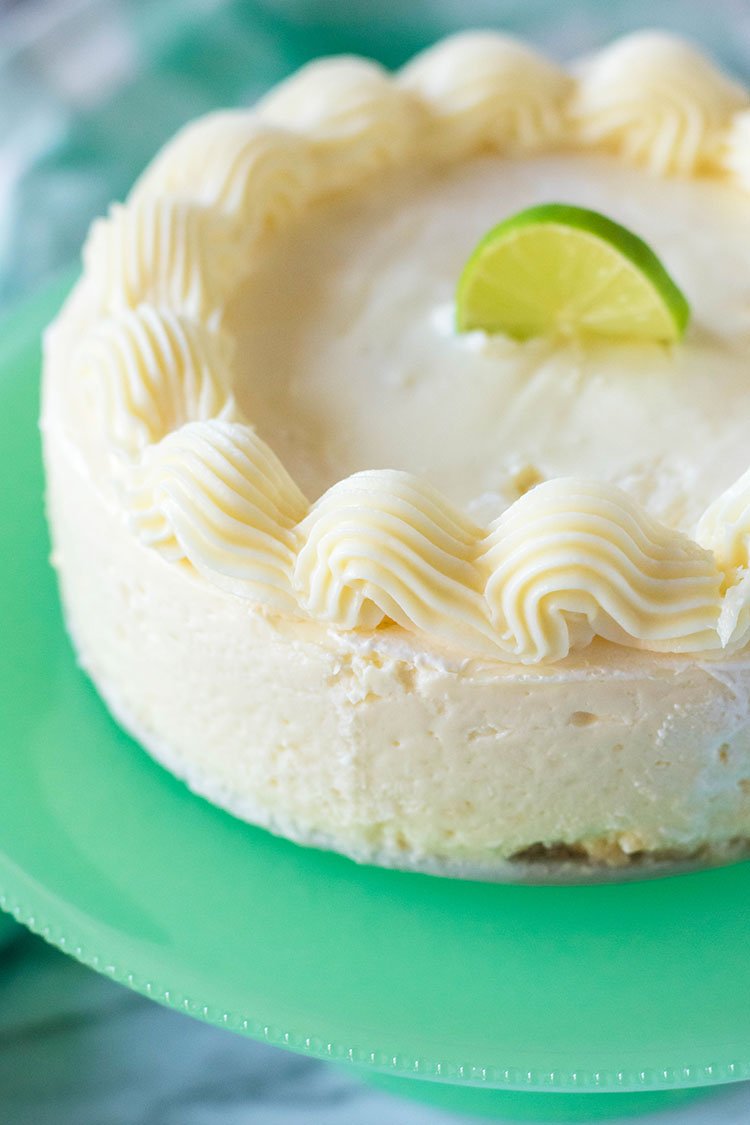
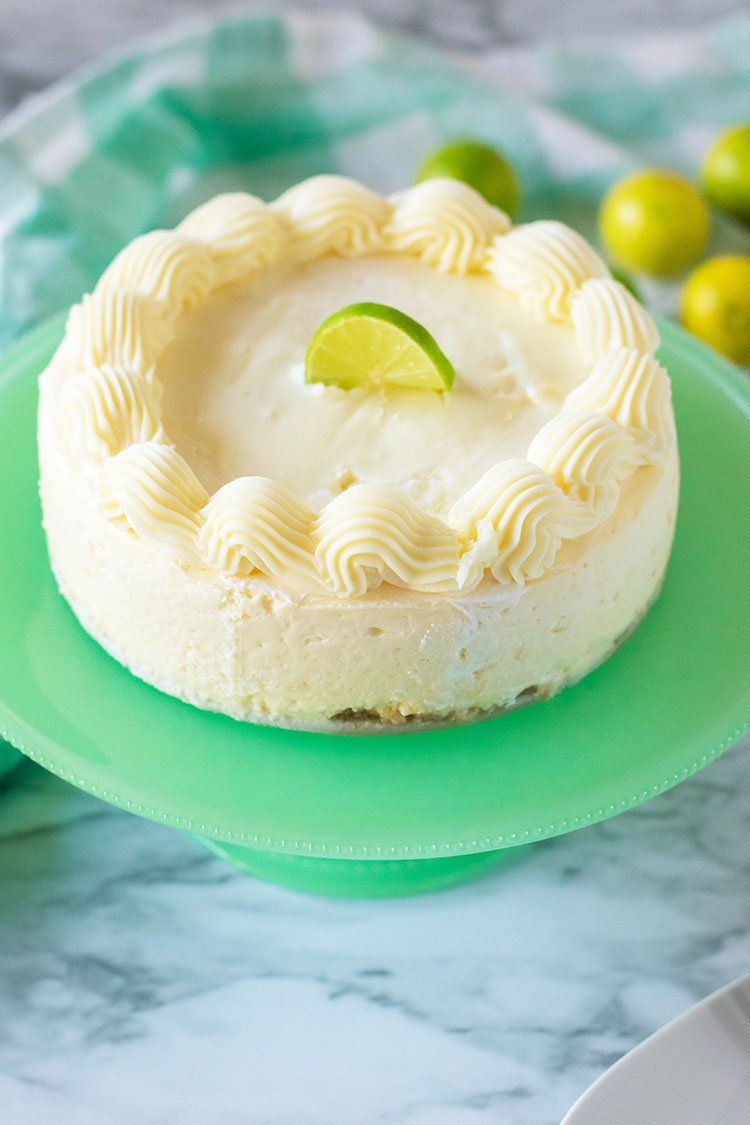
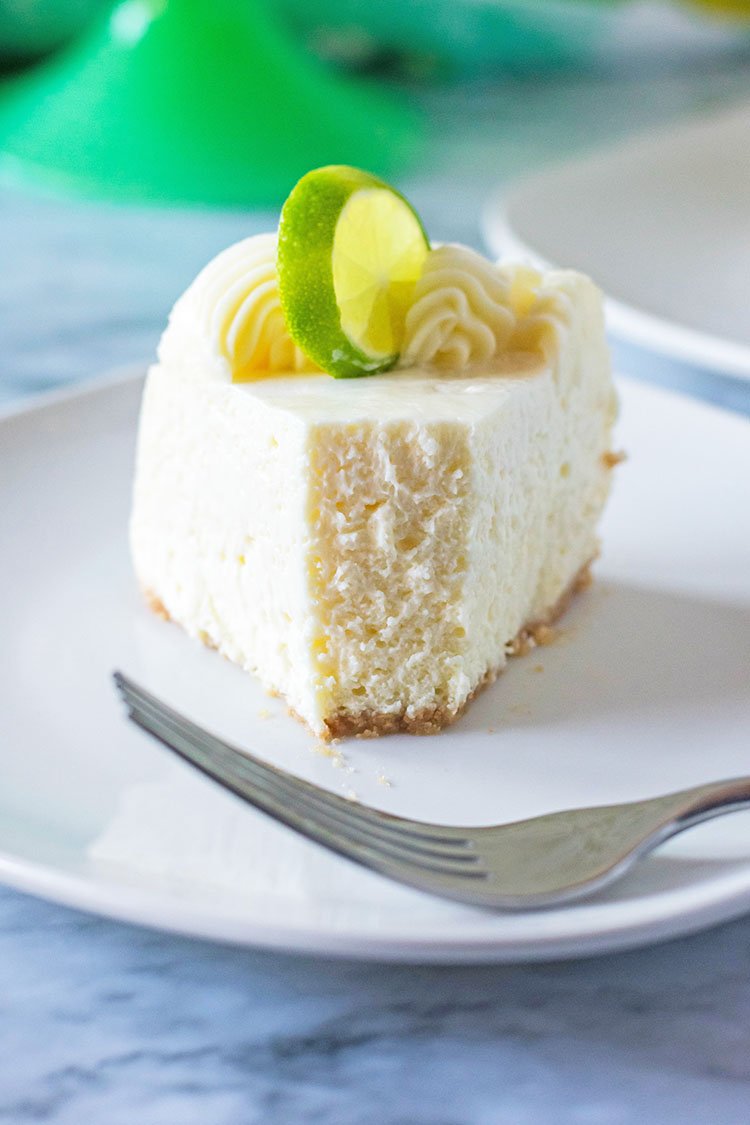
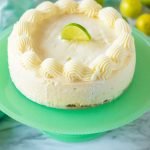
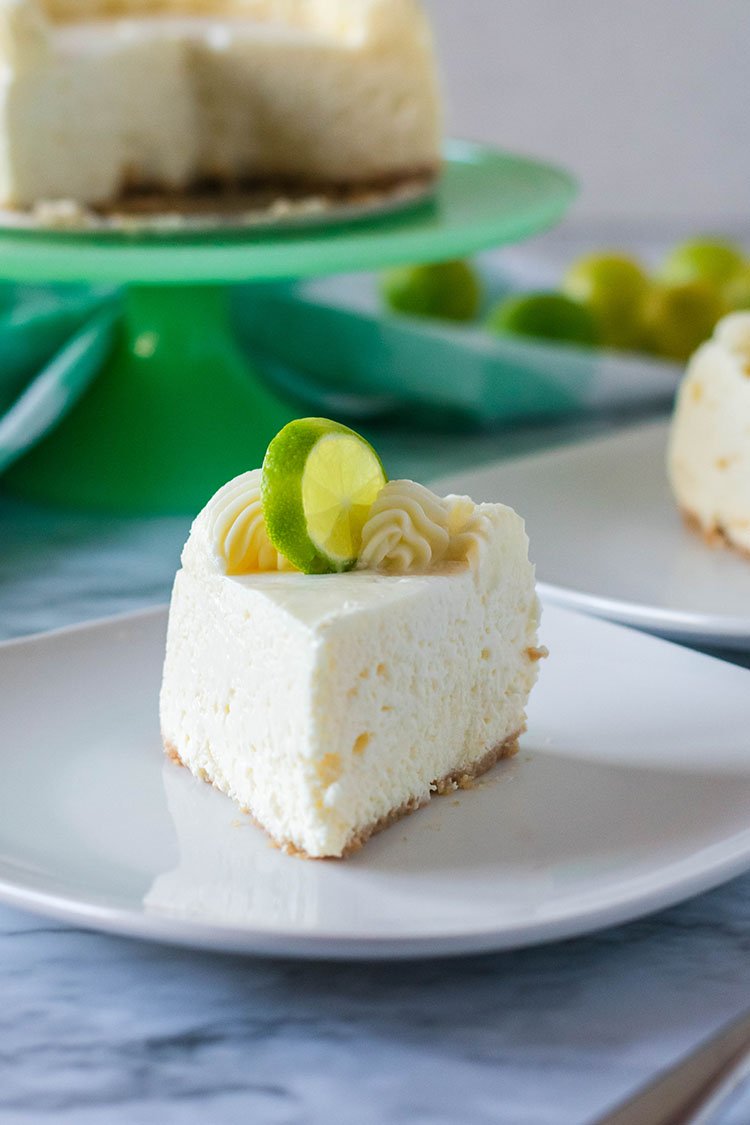
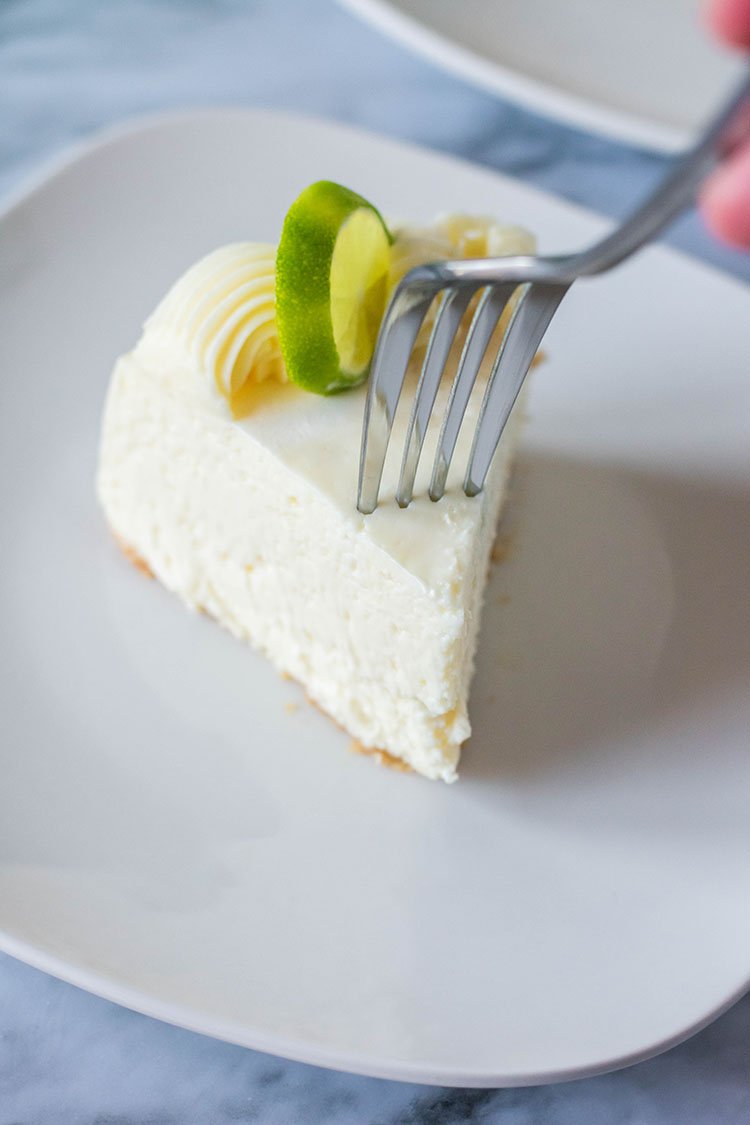
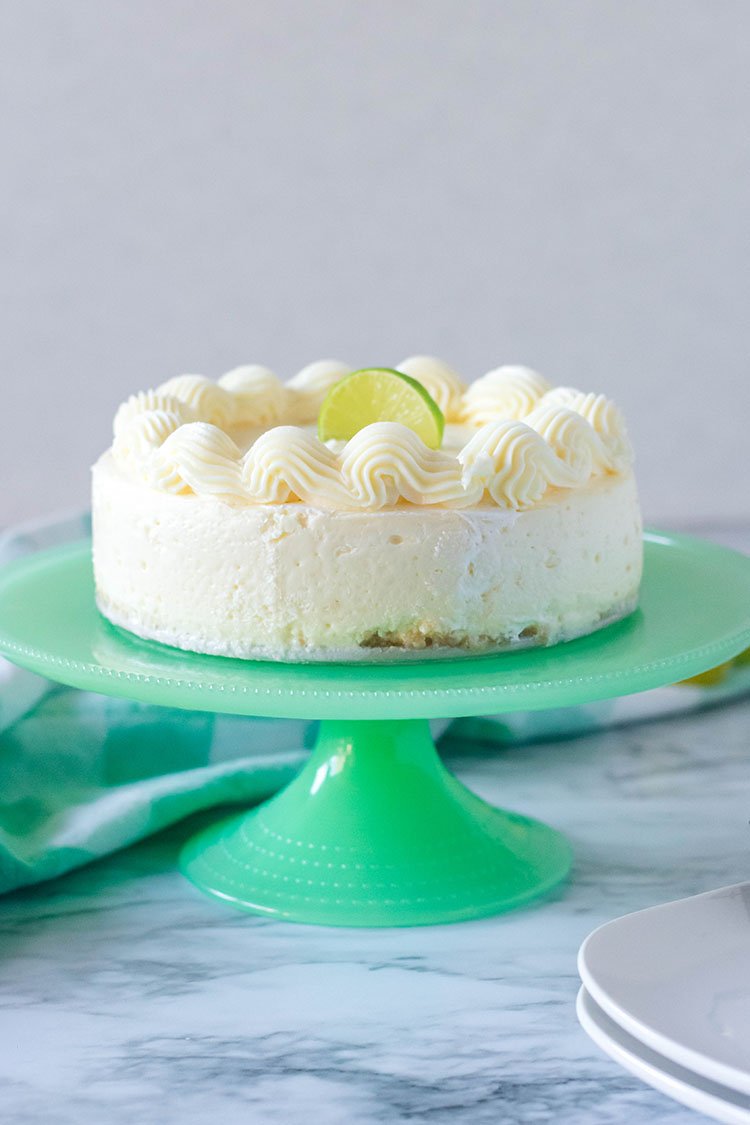
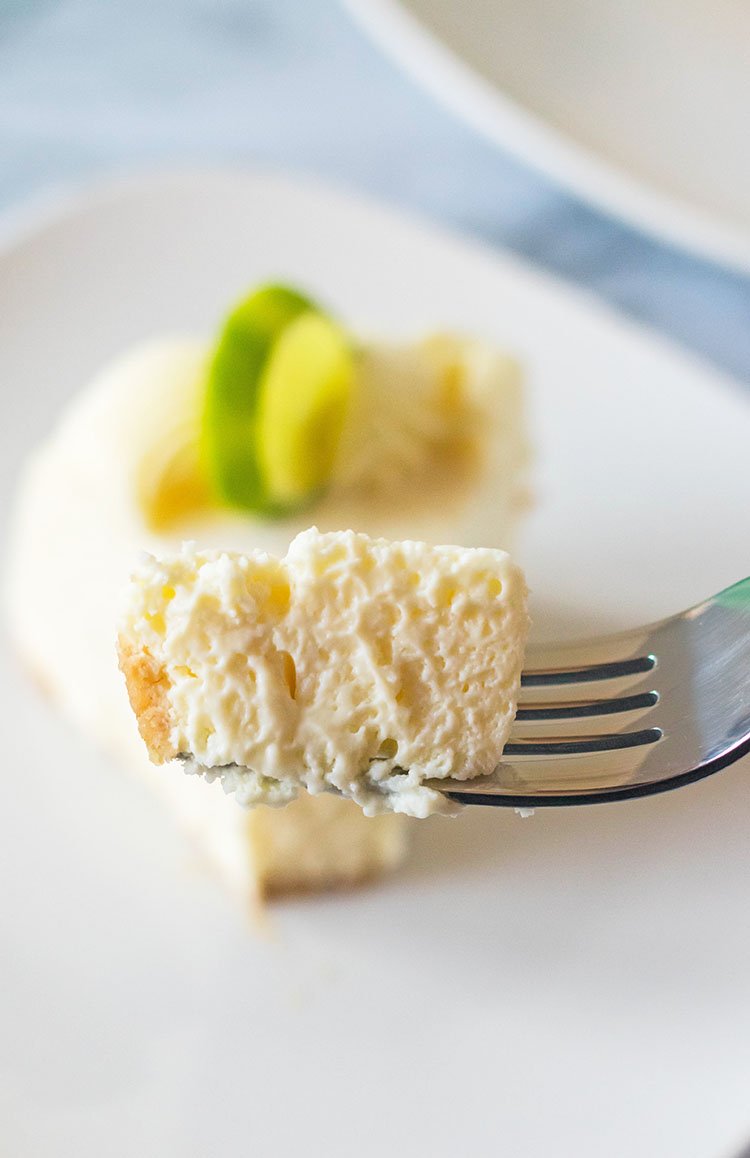
- Instant Pot Key Lime Cheesecake
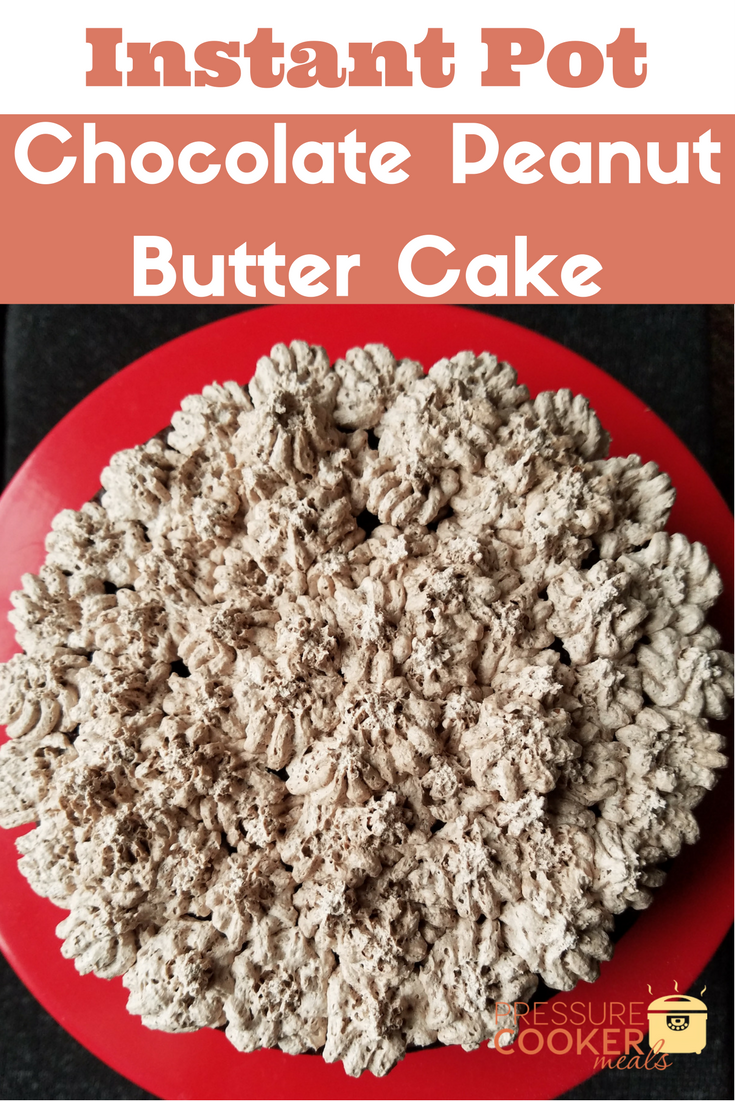
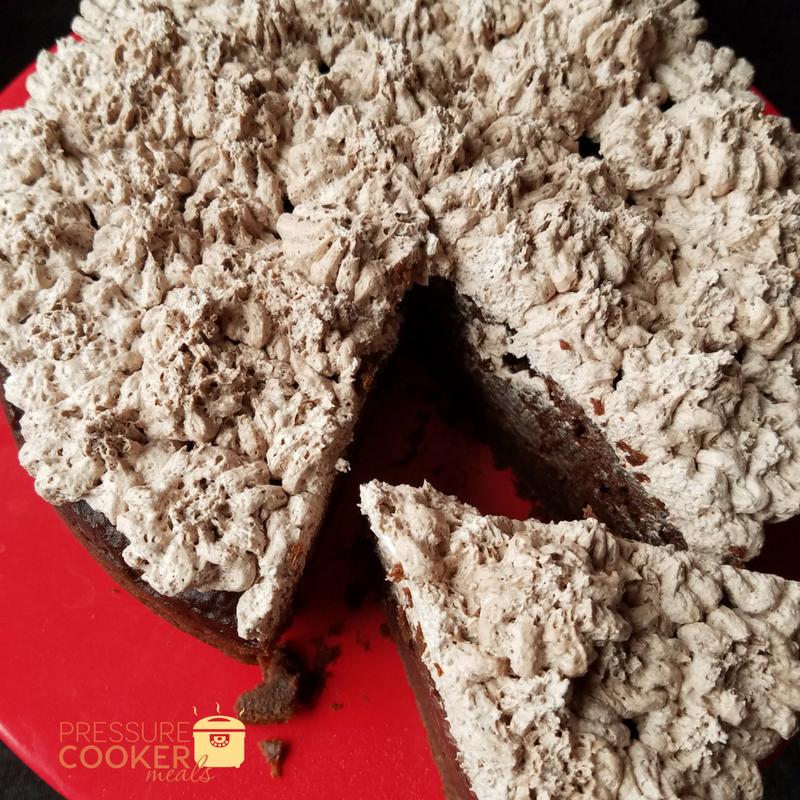
- Chocolate Peanut Butter Cake in Pressure Cooker
Instant Pot Brownie Cake
- Total Time: 28 mins
- Yield: 4 1x
Description
If you’re having a chocolate craving, these from-scratch brownie cakes are a perfect mix of fudgy, cakey, and oh-so-rich and chocolatey. Keep reading for the Instant Pot Brownie Cake Recipe.
Ingredients
- 4 tablespoons unsalted butter
- 2 tablespoons chocolate chips (for sugar-free options, use stevia-sweetened chips)
- 2/3 cup sugar (for sugar-free options, use erythritol, can be found at most health food stores)
- 2 eggs
- 1/4 teaspoon vanilla extract
- 1/2 cup all-purpose flour (gluten free option, use Bob’s Red Mill 1–1 baking blend)
- 4 tablespoons cocoa powder (sugar-free option use unsweetened cocoa powder)
- 2 tablespoons powdered sugar (optional)
Instructions
- In microwave-safe bowl, microwave the butter and chocolate chips for 1 minute until melted.
- In mixing bowl, beat butter and chocolate chips and sugar until well combined.
- Add egg and vanilla then beat until blended.
- Sift flour and cocoa over the wet ingredients and mix until well combined.
- Place rack inside of pot and add 1-cup of water to the bottom.
- Add batter to ramekins and place ramekins on top of the rack inside your pot. Cover the tops of each ramekin with foil.
- Set to high pressure for 18 minutes, quick release
- Top with powdered sugar, ice cream, caramel, whipped cream… or anything else your heart desires!
- Prep Time: 10 mins
- Cook Time: 18 mins
- Category: Dessert
Keywords: instant pot, pressure cooker, pot brownies, brownies, brownie cake, cake brownie cakes, single serve, instant pot dessert, dessert

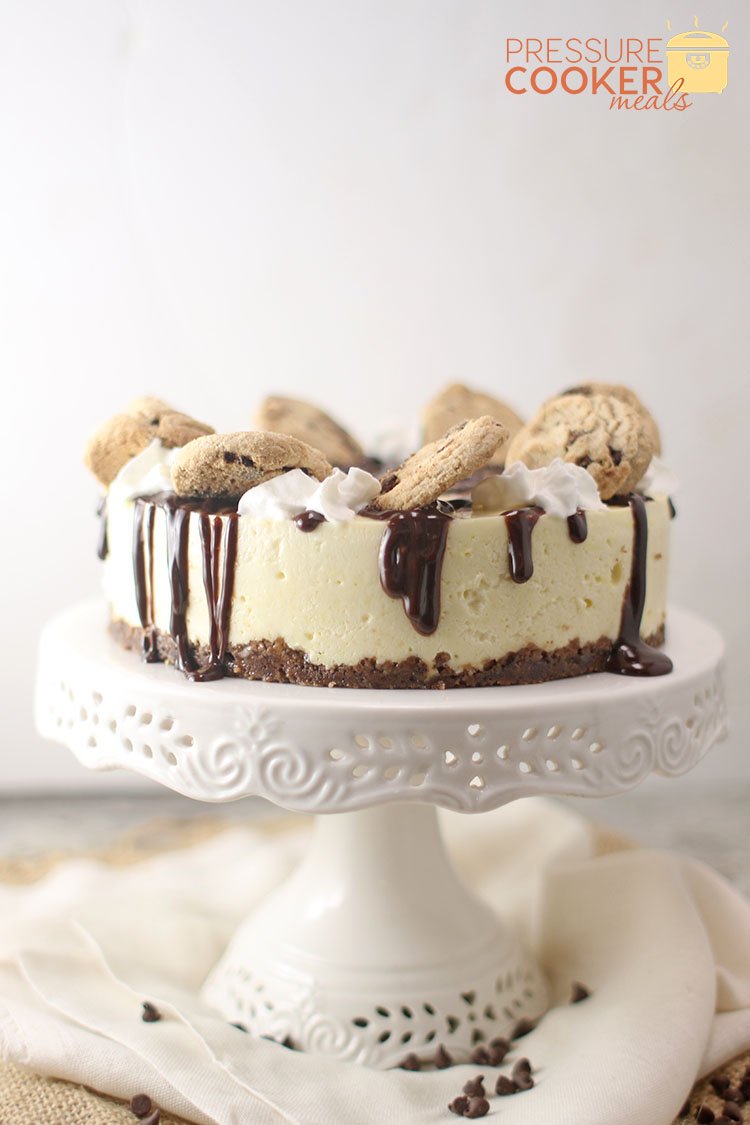
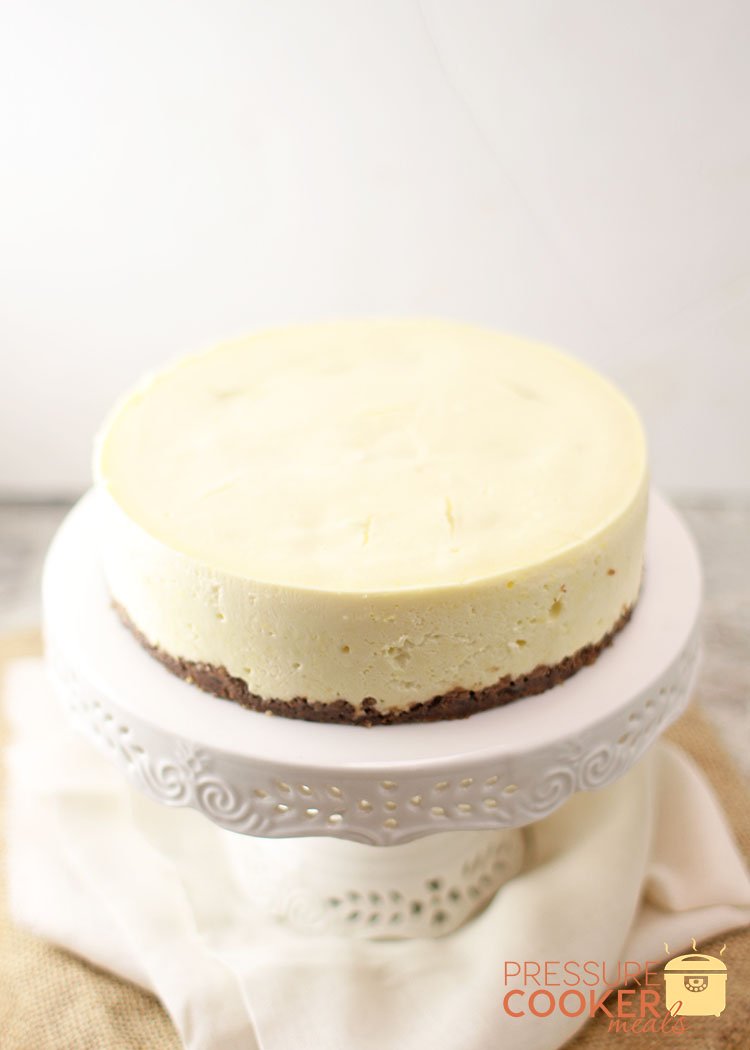
 While the texture is a little bit different, the final result is an incredible, rich and delicious cheesecake.
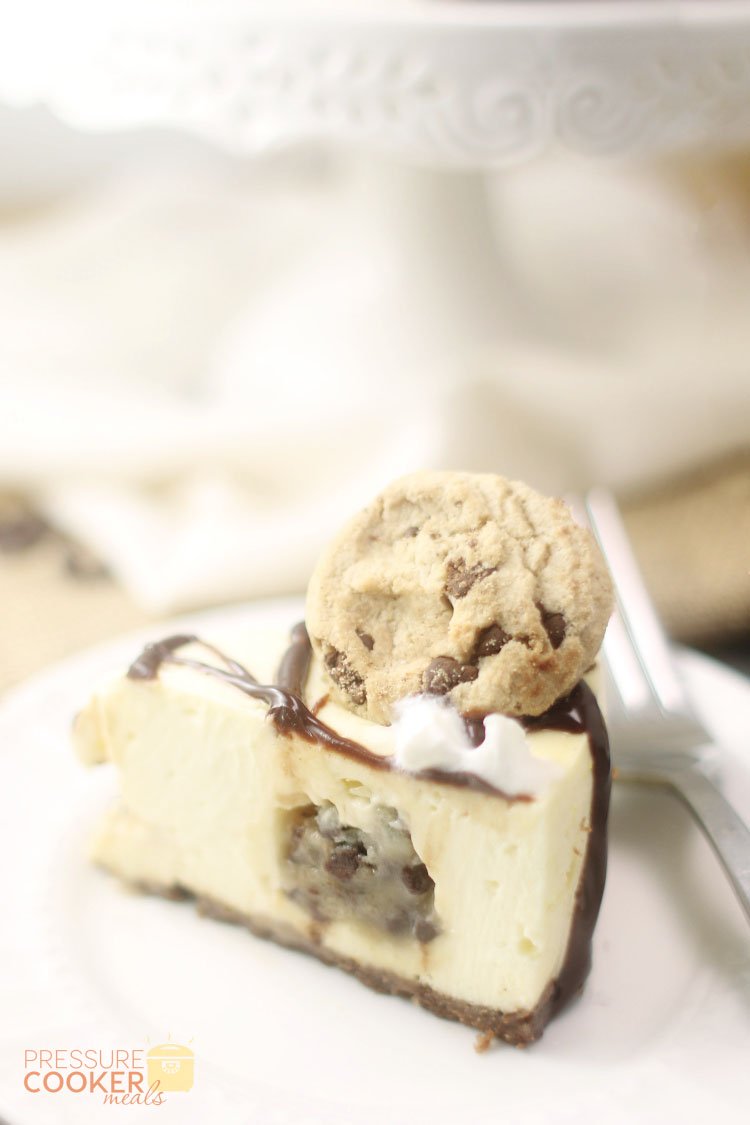
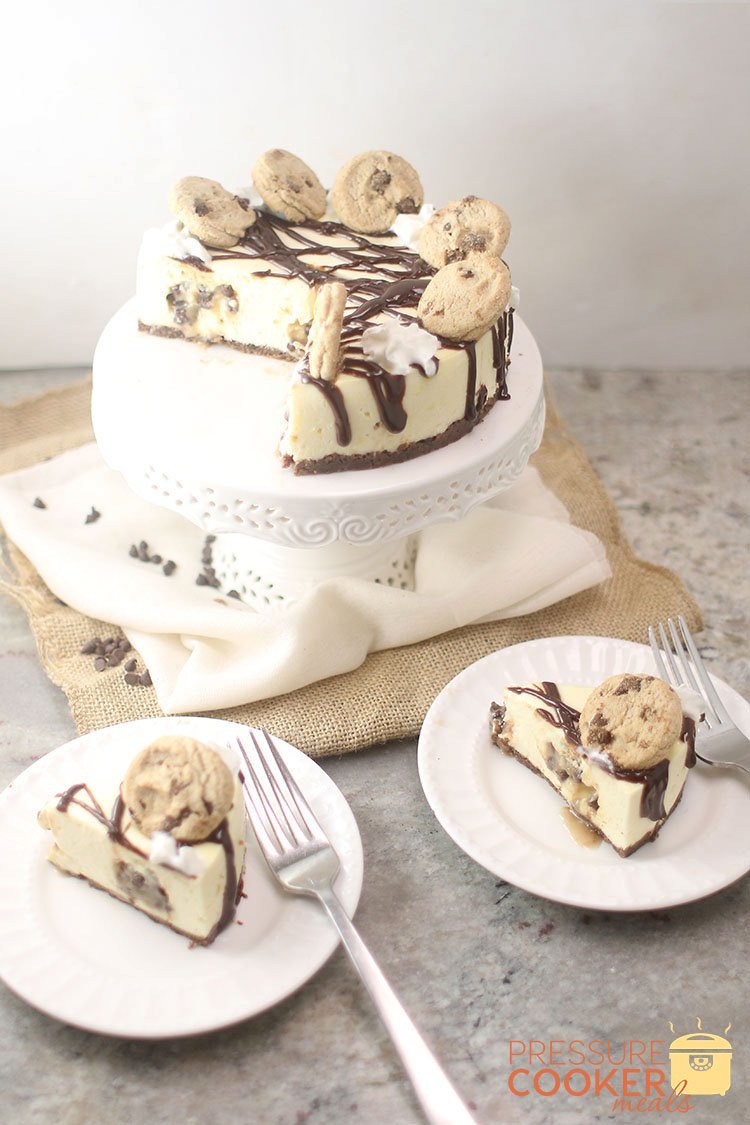 The cheesecake batter is pretty standard, but adding in balls of chocolate chip cookie dough really makes it extra special. Then, as if it needed more yummines, I drizzled ganache on top. Ohmyword… so good!
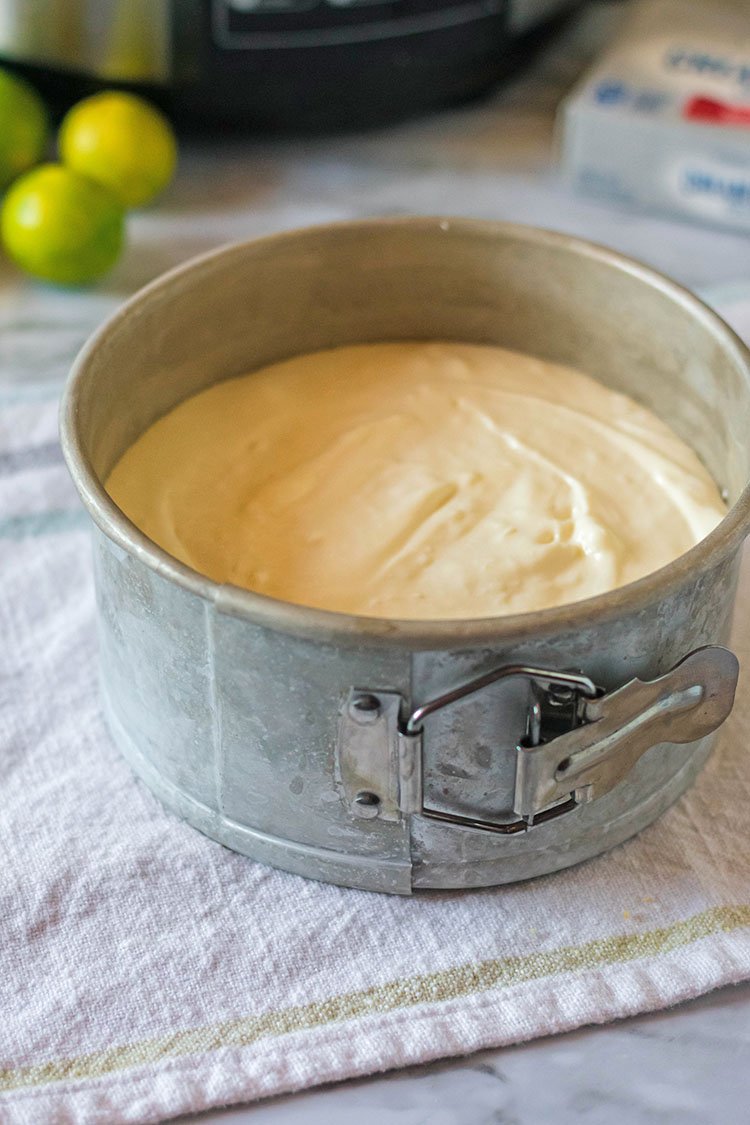
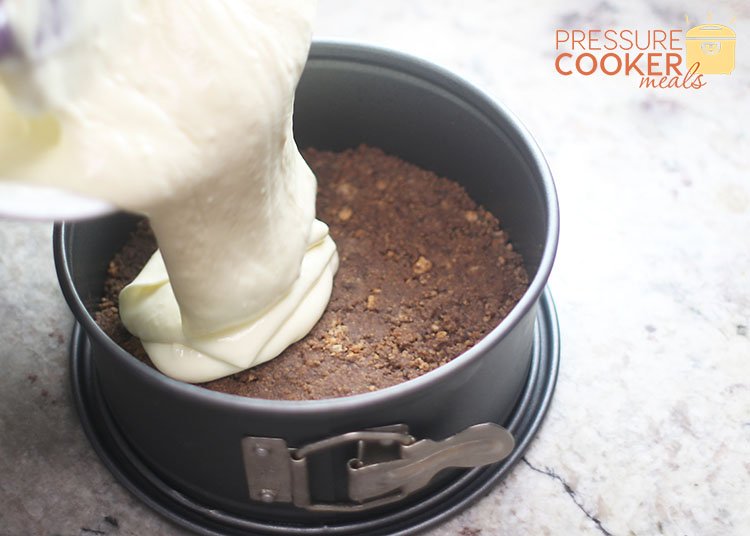
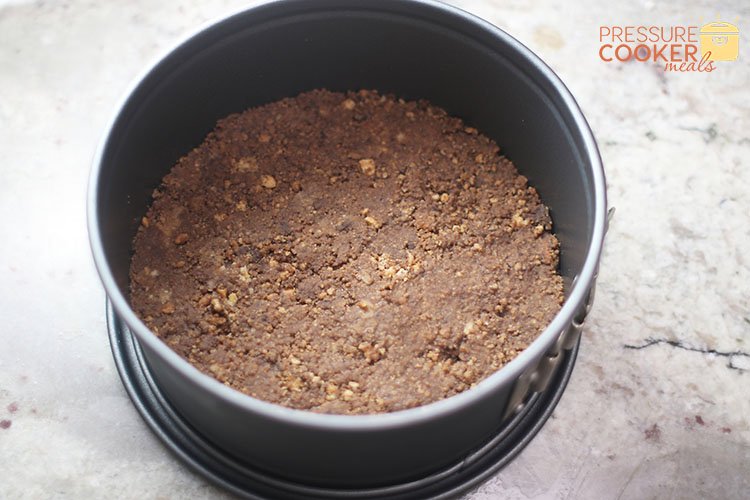 First, you want to prepare the cookie crust. This is the easist thing in the world. In a small bowl, mix together crushed chocolate chip cookies, sugar and melted butter. Press onto the bottom of a 7-inch springform pan and use the bottom of a glass to get into the corners – works great! Set aside.
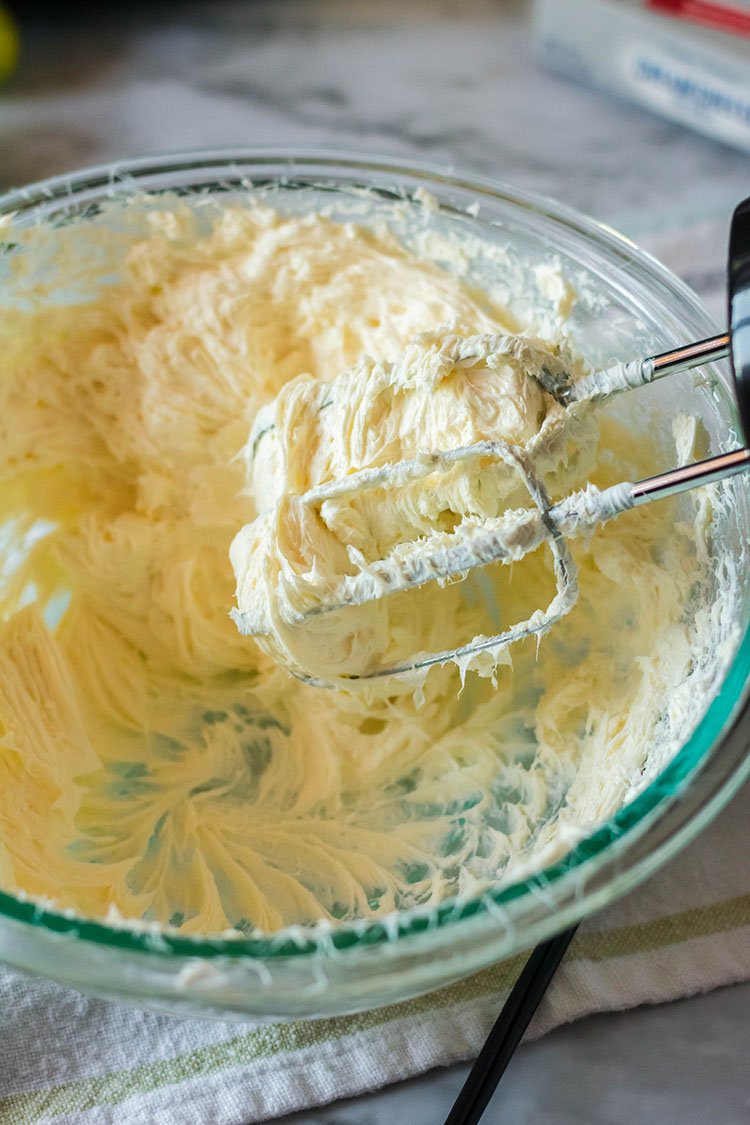
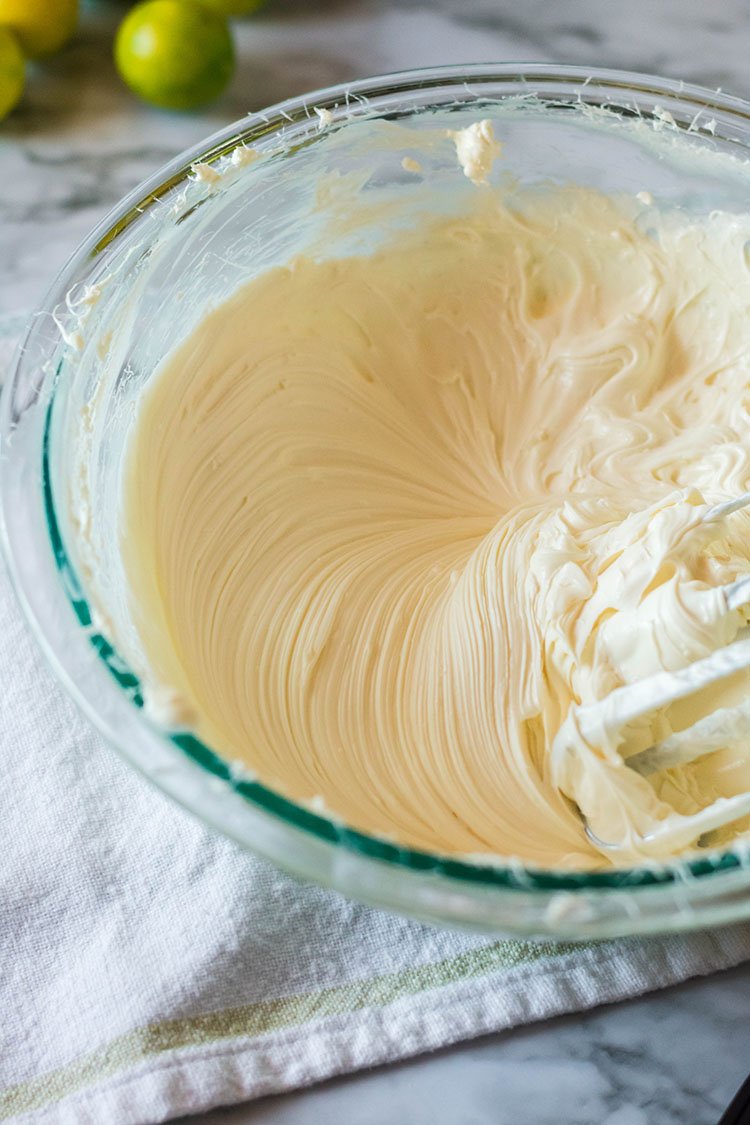
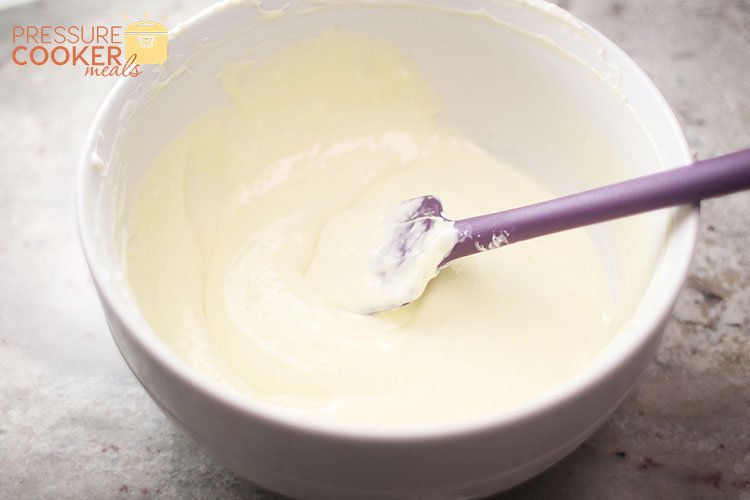 Next, mix up the filling. The secret to the filling is having the cream cheese at room temperature and mixing it until there are NO lumps. This could take several minutes of mixing with a hand mixer, but you want to make sure it’s super creamy and smooth!
The last ingredient you’ll add to the filling (see details below) is the eggs. You’ll want to fold these in very gently with as little mixing as possible. I actually prick the yolks with cake tester then use a silicone spatula to mix it up – not an electric mixer!
Next, mix up the filling. The secret to the filling is having the cream cheese at room temperature and mixing it until there are NO lumps. This could take several minutes of mixing with a hand mixer, but you want to make sure it’s super creamy and smooth!
The last ingredient you’ll add to the filling (see details below) is the eggs. You’ll want to fold these in very gently with as little mixing as possible. I actually prick the yolks with cake tester then use a silicone spatula to mix it up – not an electric mixer!
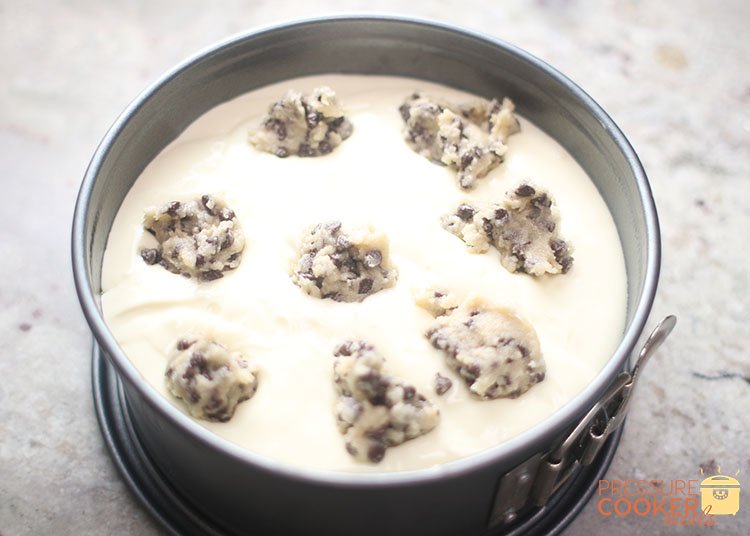 Next, in a small bowl, you’re going to make the cookie dough. When it’s finished, take small spoons of the cookie dough and place them on top of the batter.
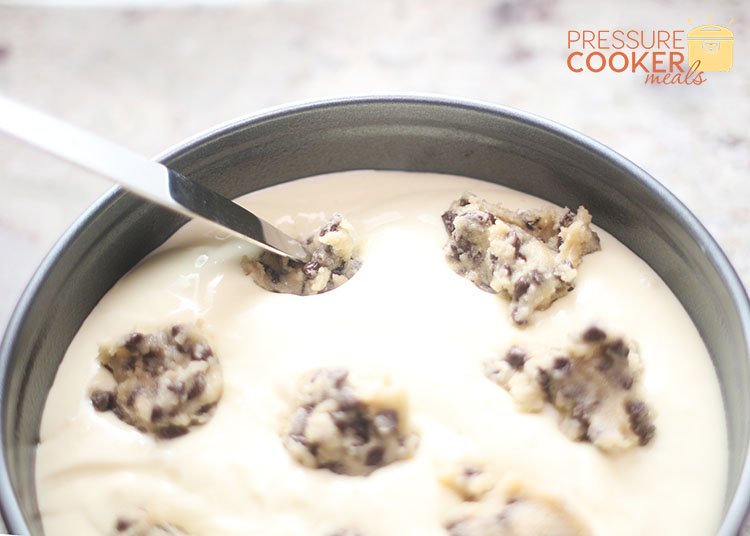
 Use a butter knife to push the dough down and then smooth it over the top so that the cookie dough is completely covered.
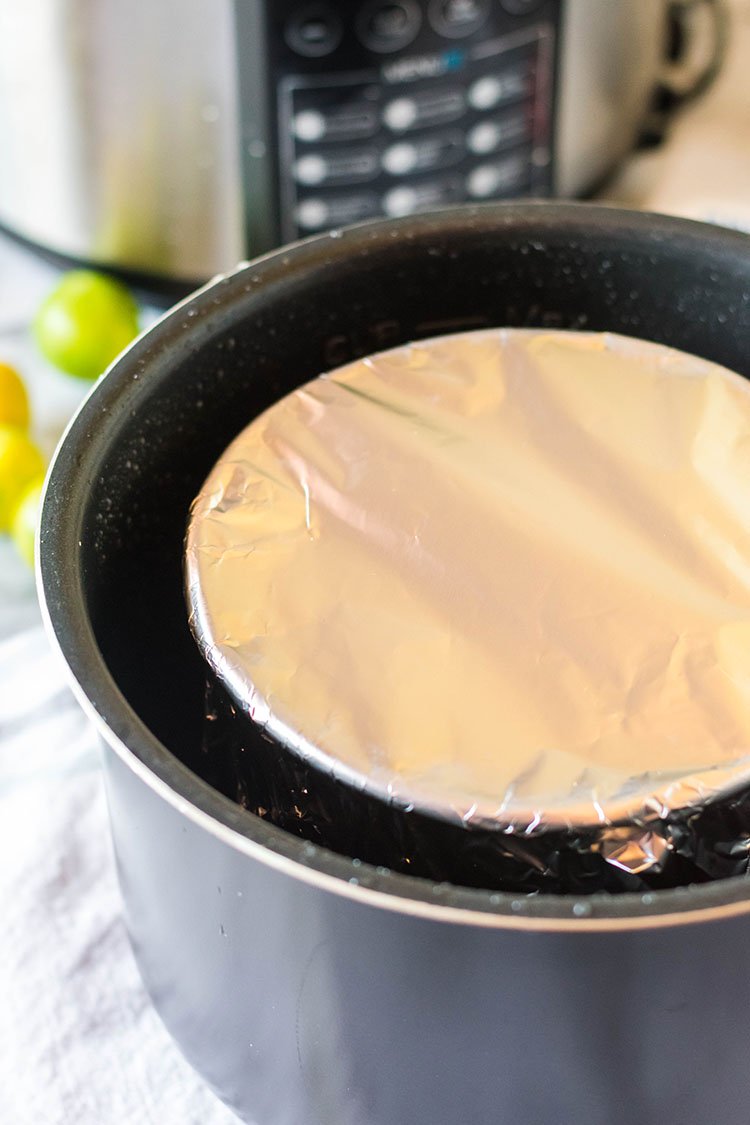
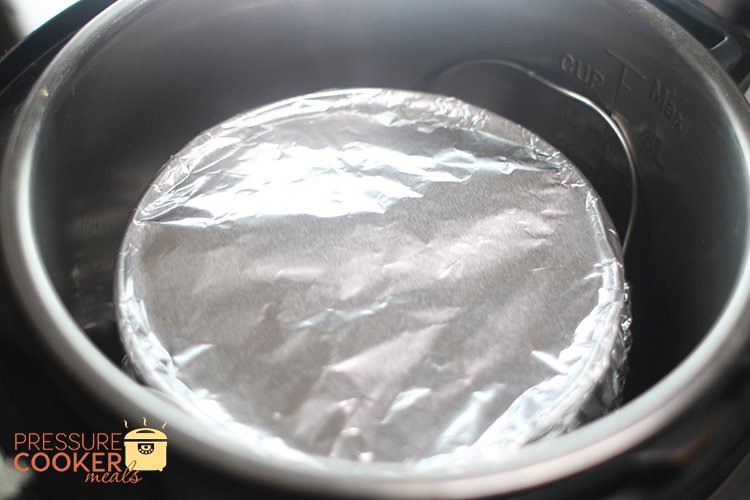 Last step before cooking… tightly cover your pan with aluminum foil – this is very important to prevent you from ending up with a soggy cheesecake. I like to wrap it completely, bottom and top. Then place the pan on the trivet in your Instant Pot. Pour 1 cup of water into the bottom, then seal the lid and cook on high pressure for 45 minutes.
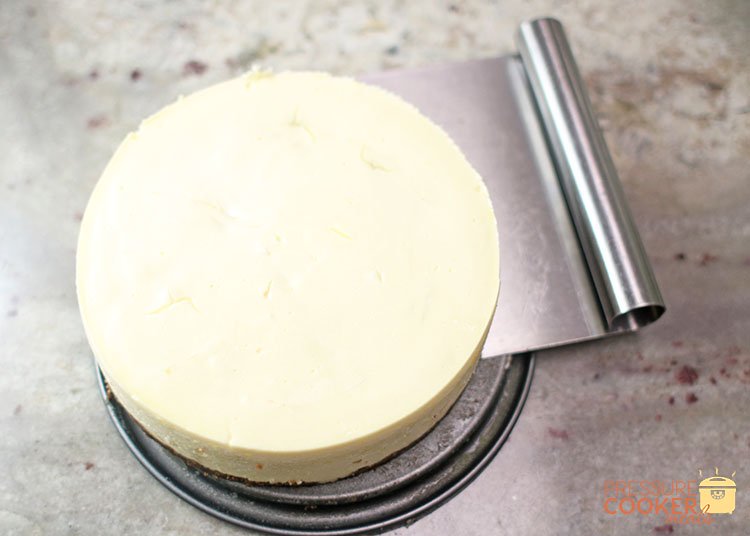
After it’s done, let it naturally release. Remove it from the pot, take off the foil and let it completely cool on a wire rack. It will look VERY jiggly at this point, but that’s okay! After it’s cooled, place the cheesecake in the fridge to cool overnight. Keep it in the springform pan!!!
Last step before cooking… tightly cover your pan with aluminum foil – this is very important to prevent you from ending up with a soggy cheesecake. I like to wrap it completely, bottom and top. Then place the pan on the trivet in your Instant Pot. Pour 1 cup of water into the bottom, then seal the lid and cook on high pressure for 45 minutes.
After it’s done, let it naturally release. Remove it from the pot, take off the foil and let it completely cool on a wire rack. It will look VERY jiggly at this point, but that’s okay! After it’s cooled, place the cheesecake in the fridge to cool overnight. Keep it in the springform pan!!!
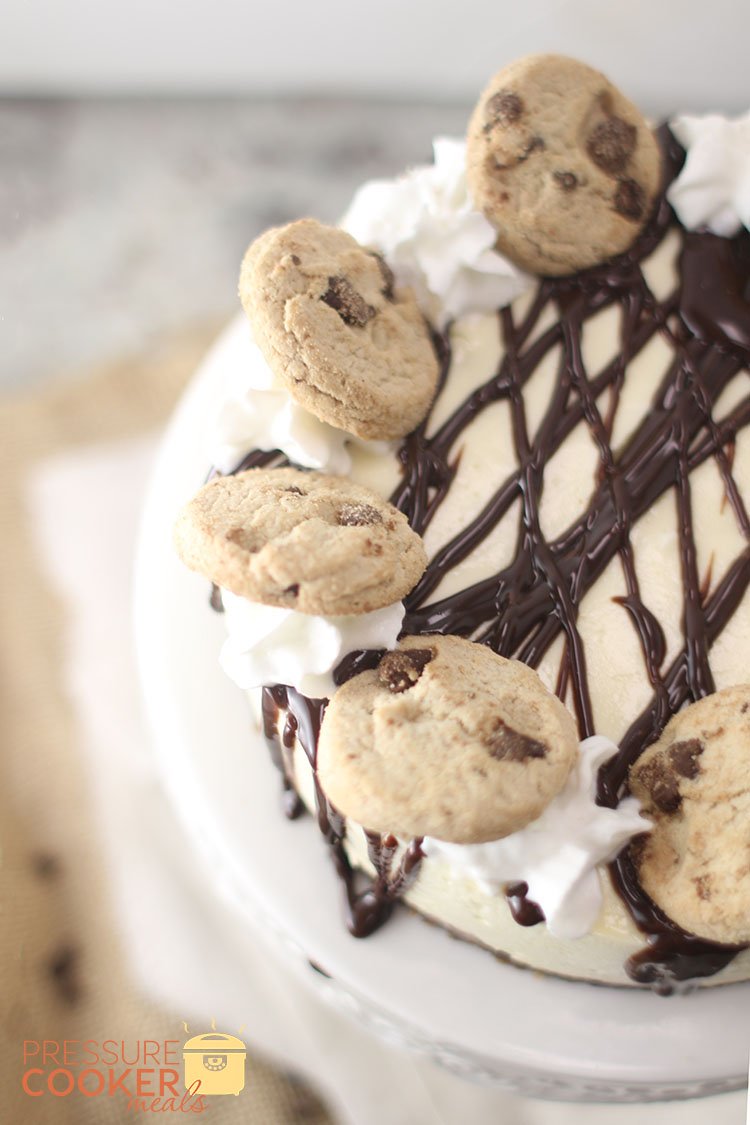
 Now you’re ready to make it pretty and extra delish! The recipe is below, but basically you’re going to mix warm cream and chocolate to create an amazing drippy chocolate glaze.
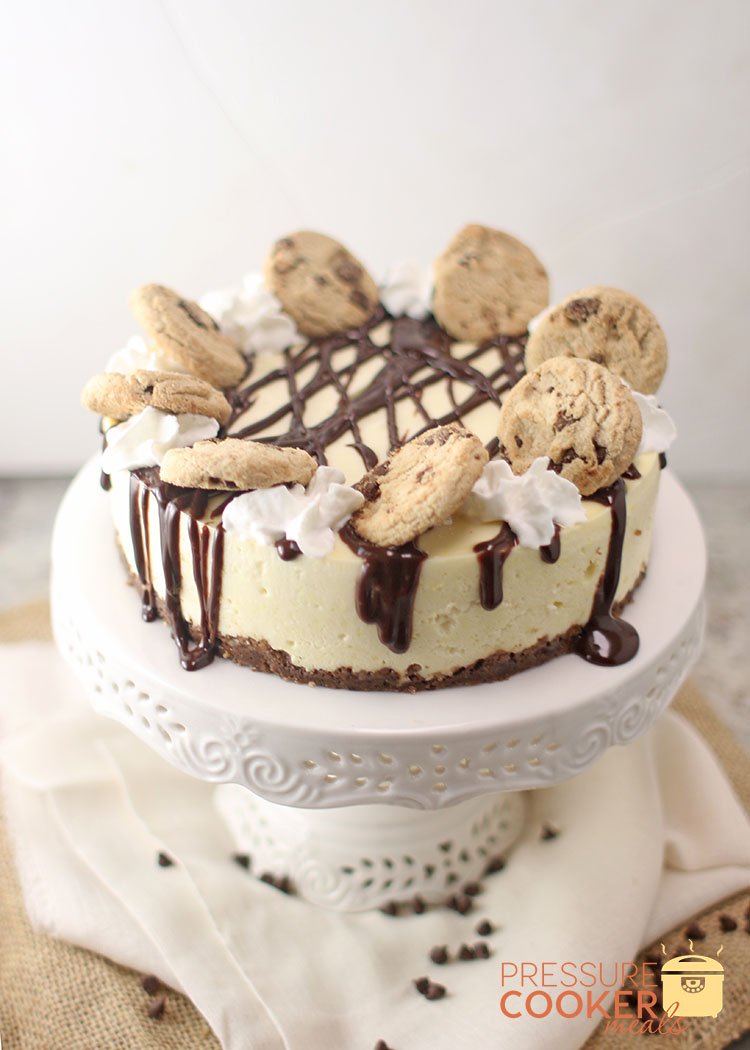 Then drizzle it all over. I also added some fresh whipped cream and a few chocolate chip cookies just for good measure. 😉