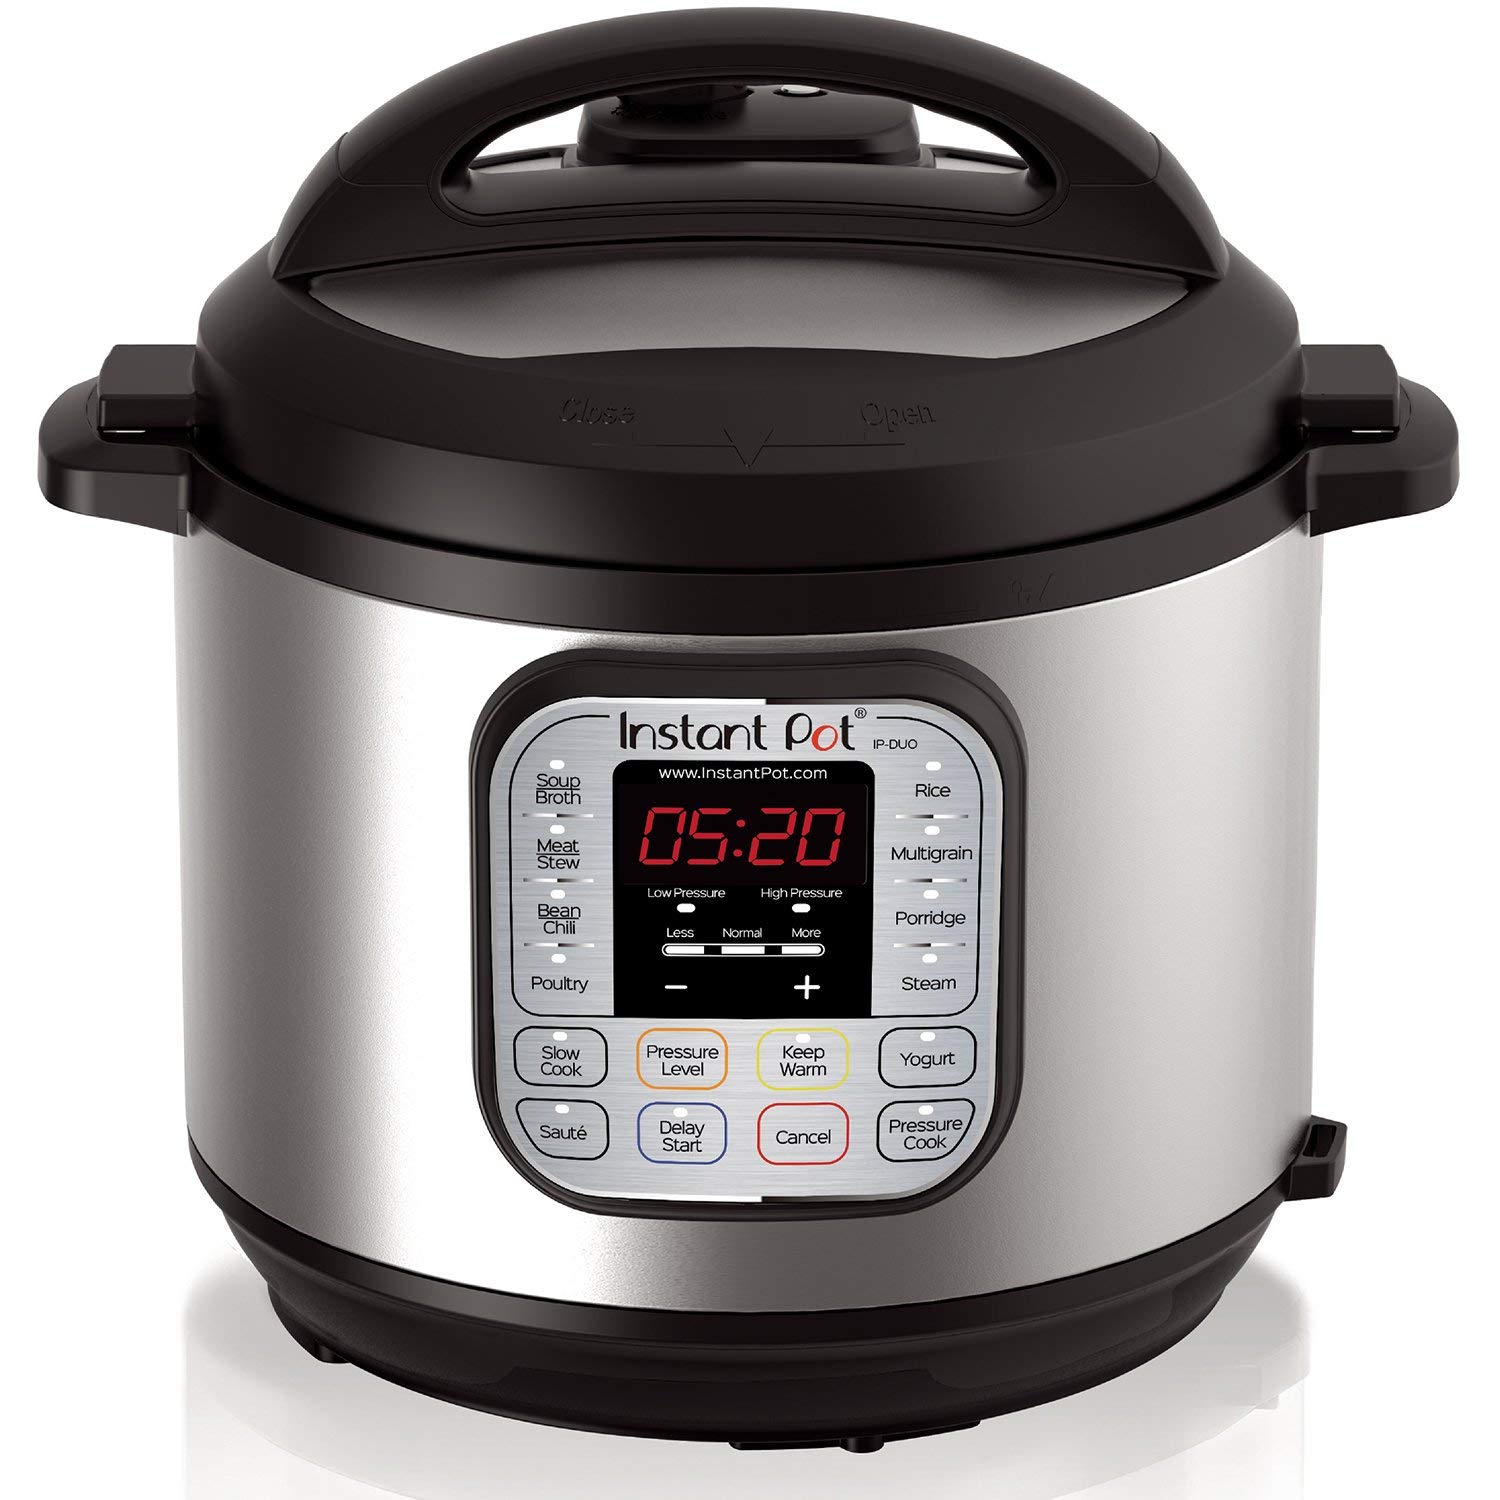
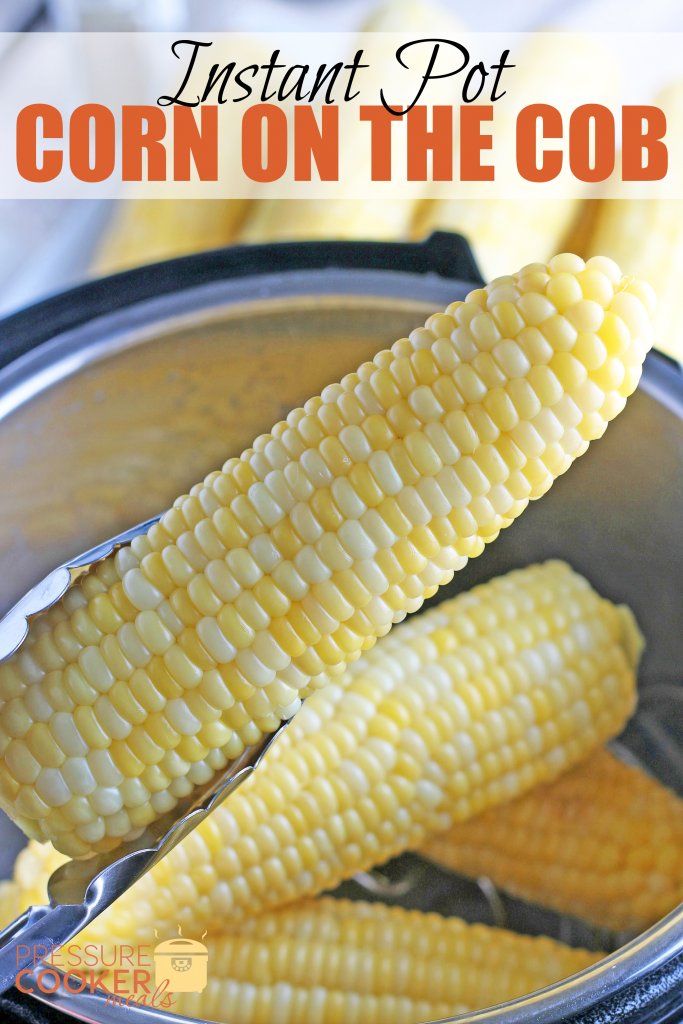
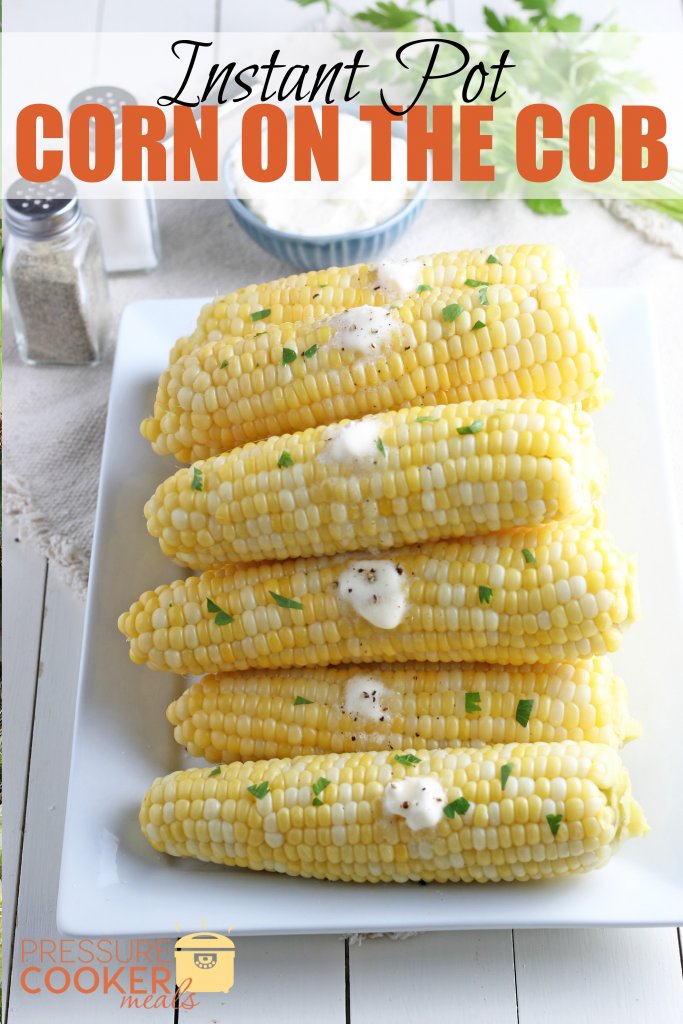
Instant Pot Corn on the Cob is SO easy and delicious! There’s nothing better than fresh sweet corn dripping with melted butter and salt in the summer time. This is a side dish that goes well with almost any meal and it’s never been easier than in your pressure cooker.
My baby boy (a term I use lightly since he’ll be 10 years old this month) loves yellow and orange foods. He actually has never said that; it’s just an observation that my husband and I have made.
His favorite foods are mac & cheese (or any kind of pasta really), popcorn (buttered!), carrots, french fries (do they qualify as yellow?), and cheese dip. I’m not sure he’s even aware that he always wants food in this color range, but he does. Daily.
Anyway… last year a friend of the family gave us a 50-gallon trash bag full of fresh-picked sweet corn. They’d already put up all the corn they could possibly use for a year so they were sharing with anyone who wanted some.
We happily took a bag and added some to our freezer. But we also wanted to cook some right away and enjoy it fresh – when it’s best! That’s when I decided we’d try some in my Instant Pot.
And it worked like a dream. Why? Let me explain.
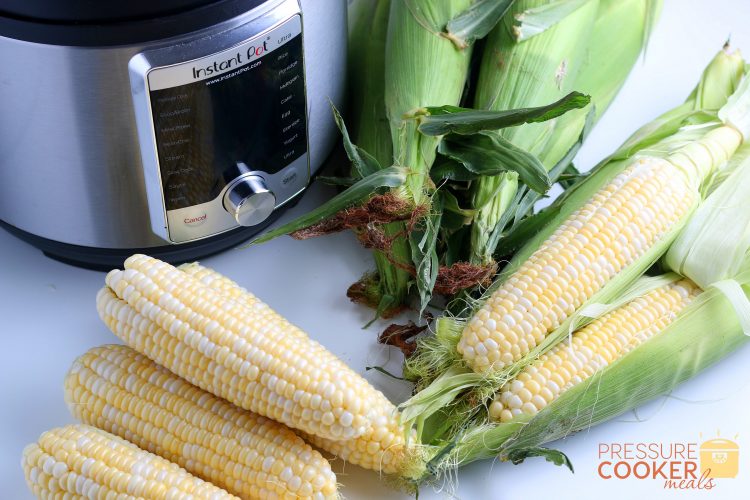
How to Choose the Best Fresh Corn
- If you’re picking the corn yourself, look for tiny holes in the husks and avoid those ears. That means there are probably insects or worms in the corn.
- If you’re buying fresh corn, look for bright green husks. Also, the tassels on the end should be silky and brown or golden. Not dry, fragile, or black. If the husks are dull or dark, OR the tassels are black and dry, the corn is not fresh.
- If you’re using fresh-picked corn, it’s best to cook it or freeze it within a day or two of picking.
- For this recipe, I used shucked corn but you can also cook it in the husk – see the tips below!
Cooking Frozen Corn in the Instant Pot
I can hear it now… someone asking, “What about frozen corn?” Yes, you can cook frozen corn in the Instant Pot. While I highly recommend fresh sweet corn (there’s just nothing better!), I understand that fresh is not always available or easy, so frozen is a great alternative.
And since we got a 50-gallon bag of corn, obviously we couldn’t eat it all while fresh, so here’s how to cook frozen corn in an Instant Pot:
- Place the trivet in your pressure cooker, then add 1 cup of cold water.
- Place the frozen corn cobs right on the rack, stacking them alternately, just as you do the fresh corn.
- Seal Instant Pot and cook for 4 minutes on High Pressure.
- Quick Release the pressure when it’s done to avoid over-cooking.
Why Cook Corn in the Instant Pot?
This may seem silly to some of you but we got a new cooktop when we remodeled our kitchen in 2019 and I hate it (but can’t really afford to replace it so soon).
It’s a smooth, touch-controlled glass-top contraption, and boiling anything on our cooktop is a nightmare. The minute one drop of water splashes out of a pot, the cooktop shuts off.
Do you know how often boiling water splashes out? A lot. And it’s so freakin’ frustrating to start a pot of water, then go do something else while I wait, only to come back and find it off and not boiling because a drop of water splashed out. Ugh!
Anyway… that’s why I love that I can now cook corn in my Instant Pot and never have to boil it again! It’s foolproof and so, so easy. Let me show you.
But first…
Tips for Instant Pot Corn on the Cob
- If you’d like to cut the ends off your corn and cook it in the husk, you can! Just add 1 minute to your cooking time.
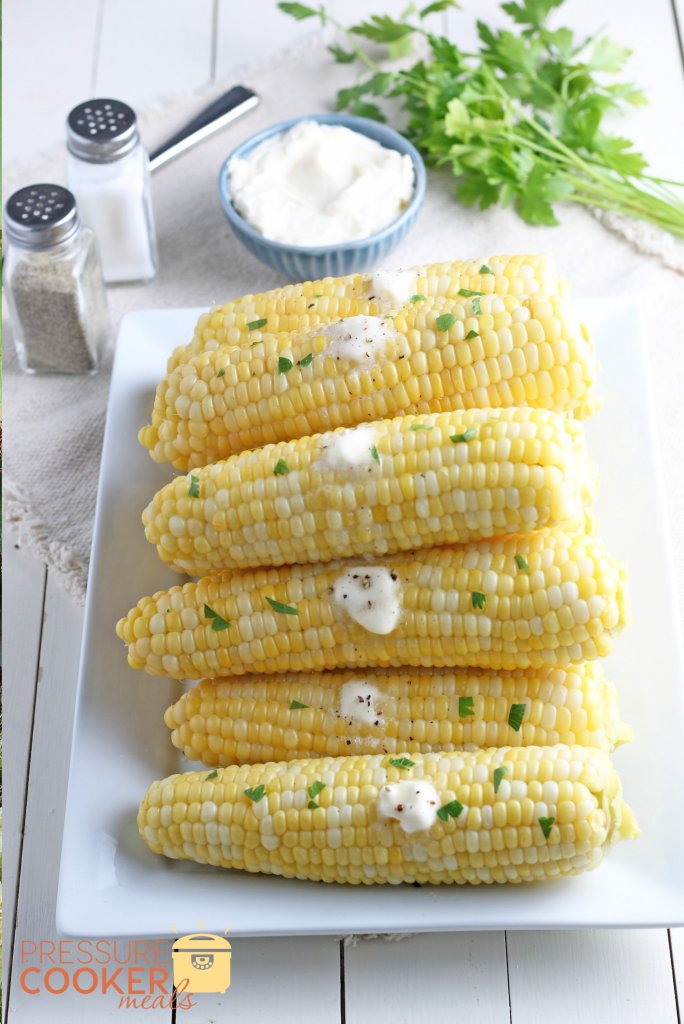
- Change up your corn with toppings! Our favorite toppings are salt and butter, but you can also add parmesan, garlic, cilantro, chili powder, and/or lime juice.
- Approximately 6 ears of corn will fit in a 6-quart Instant Pot and up to 9 ears will fit in an 8-quart Instant Pot. If the stalks are too long, trim them!
- Quick-release the pressure as soon as the timer is done to avoid overcooking!
Now let me show you the easy-peasy steps:
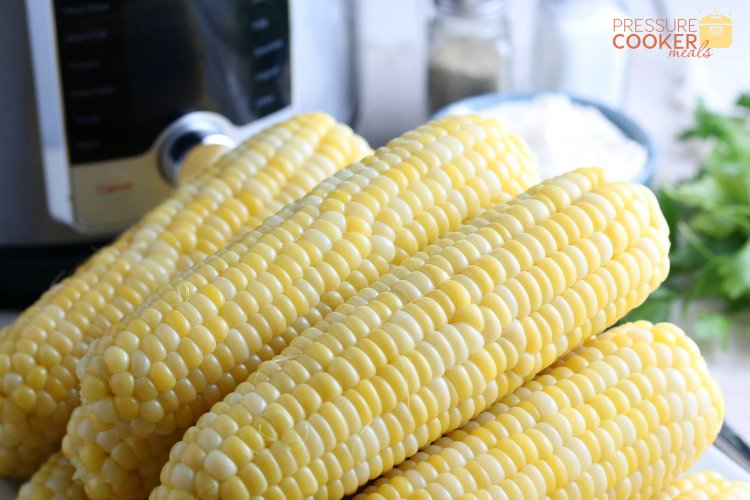
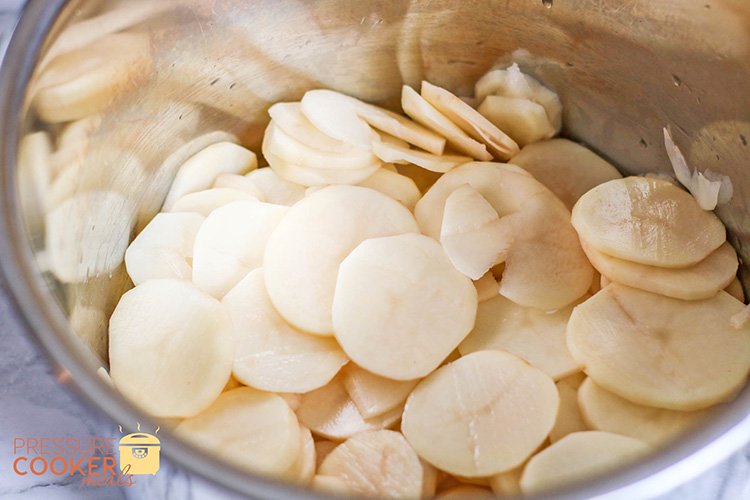
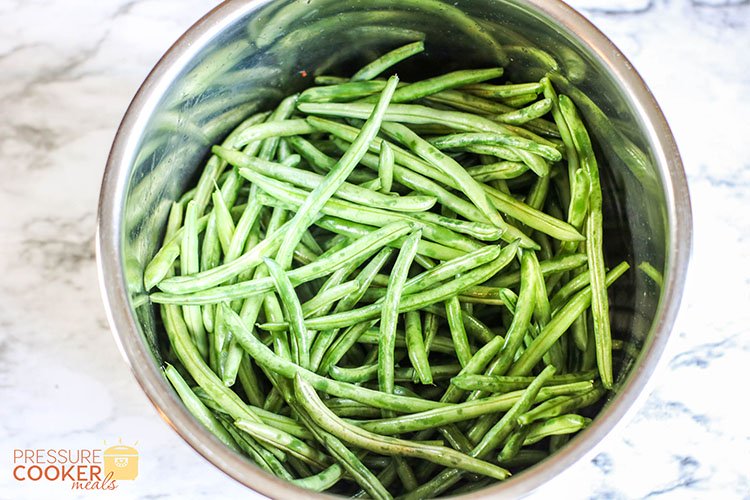
First clean the corn and remove the silks.
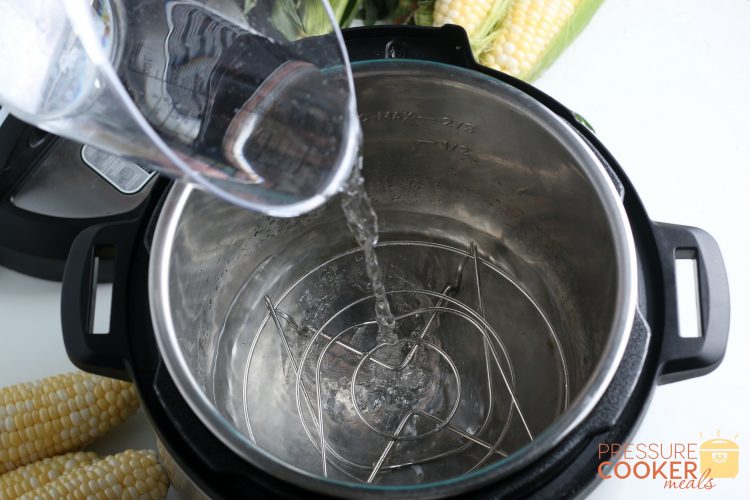
Next, place the trivet in your Instant Pot, then pour the water in.
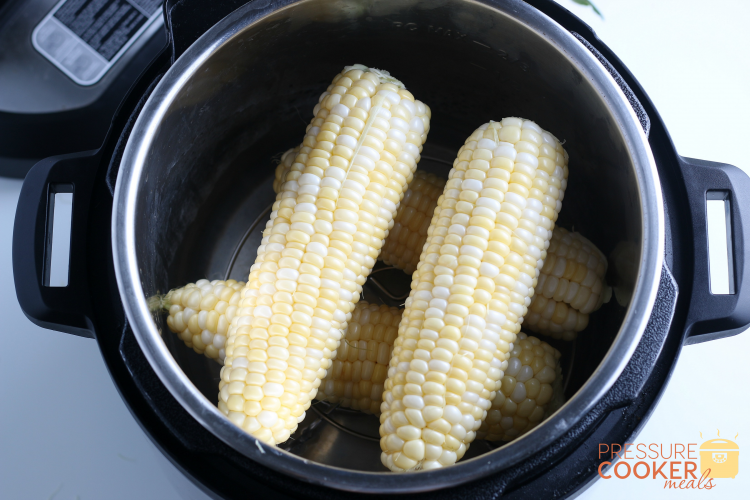
Place the corn in the pot, alternating the directions they’re turned so that there’s some space between them.
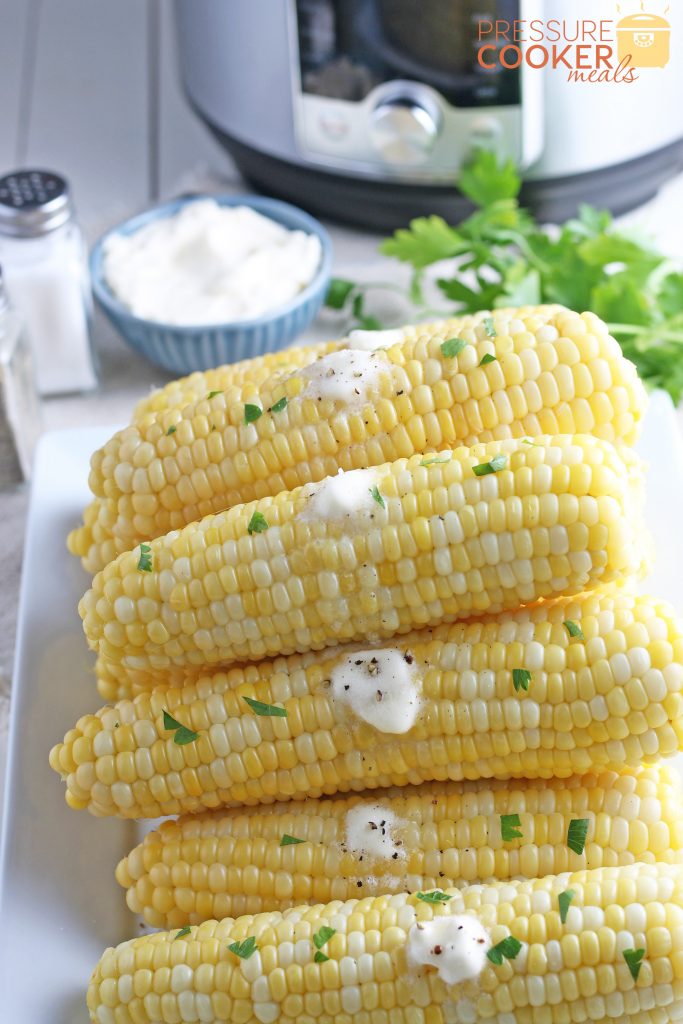
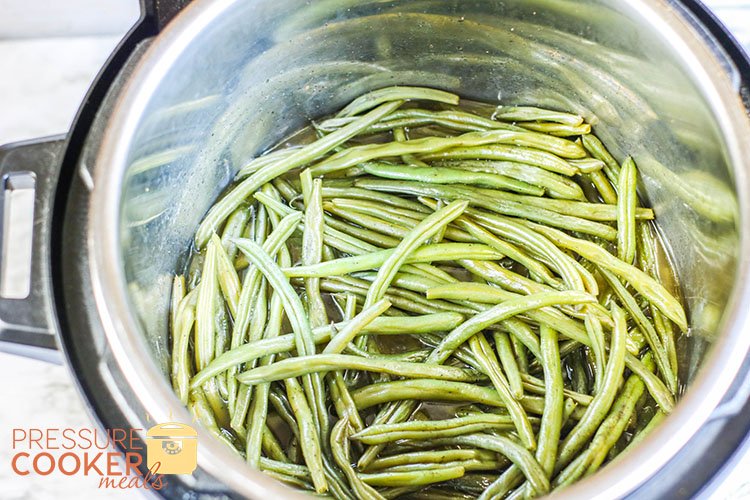
Seal the lid closed and set to High Pressure for 2 minutes. When done cooking, quick-release the pressure.

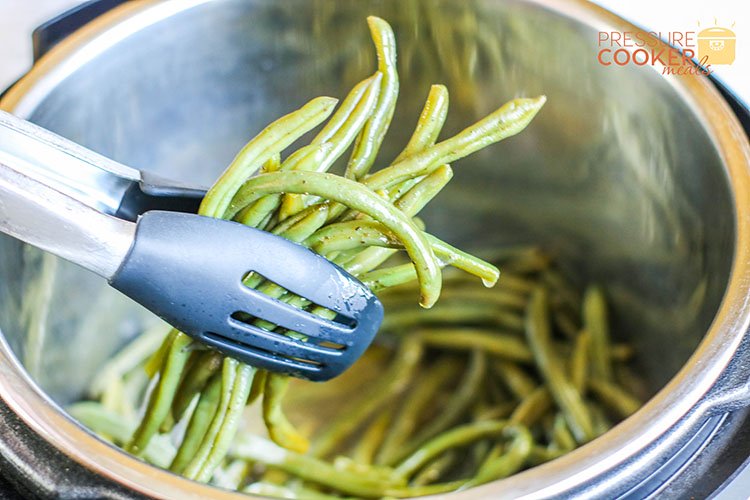
Open lid carefully and remove corn. Serve immediately with your favorite toppings!
And that’s it!! So easy and delicious! Here are some dishes that would go great with Instant Pot Corn on the Cob:
Here’s the printable recipe for you:
Print
Instant Pot Corn on the Cob
- Total Time: 6 minute
- Yield: 4-8
Description
Instant Pot Corn on the Cob is SO easy and delicious! There’s nothing better than fresh sweet corn dripping with melted butter and salt in the summertime. This is a side dish that goes well with almost any meal and it’s never been easier than in your pressure cooker.
Ingredients
Corn, husked and cleaned
1 cup cold water
Instructions
- Clean corn and remove silks
- Pour water into Instant Pot
- Place trivet into pot
- Add corn to pot
- Close lid and set to High Pressure for 2 minutes
- When done cooking, immediately release the pressure.
- Open lid carefully and remove corn
- Serve immediately with your favorite toppings
Equipment
 Buy Now →
- Prep Time: 5
- Cook Time: 2 mins plus sealing and release
- Category: Side Dish
- Method: Pressure Cooker
- Cuisine: American
Keywords: corn on the cob, fresh corn, frozen corn, Instant Pot, pressure cooker, IP Corn, Instant Pot Corn


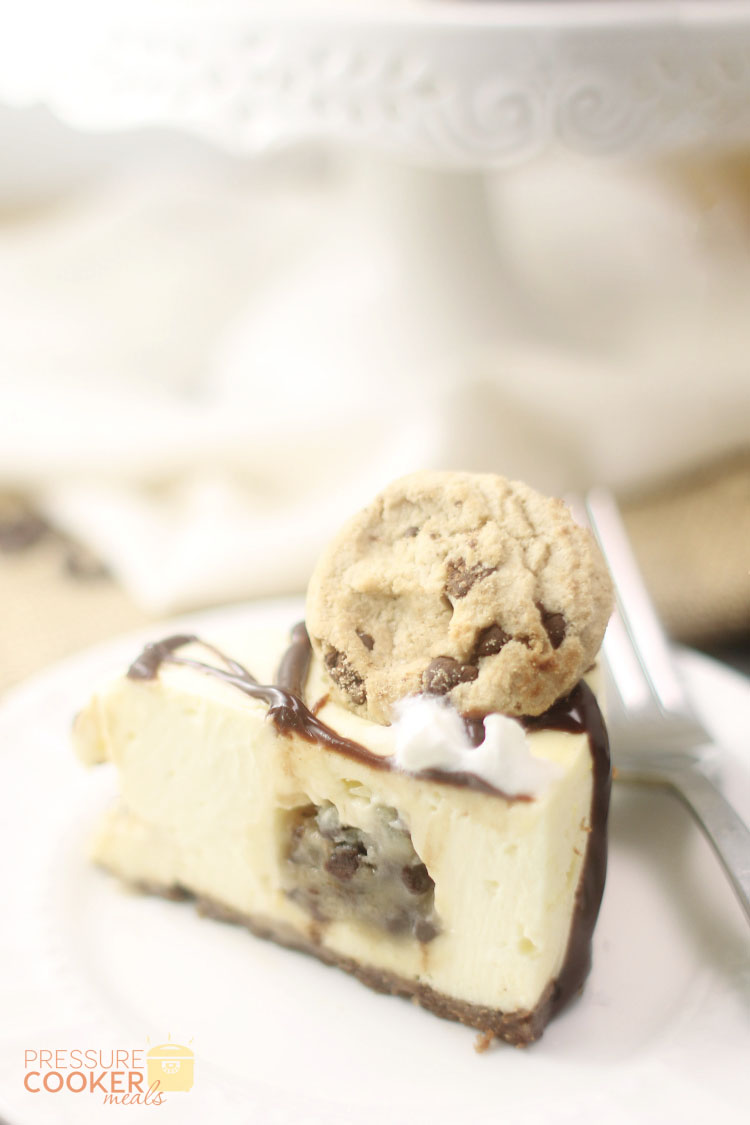
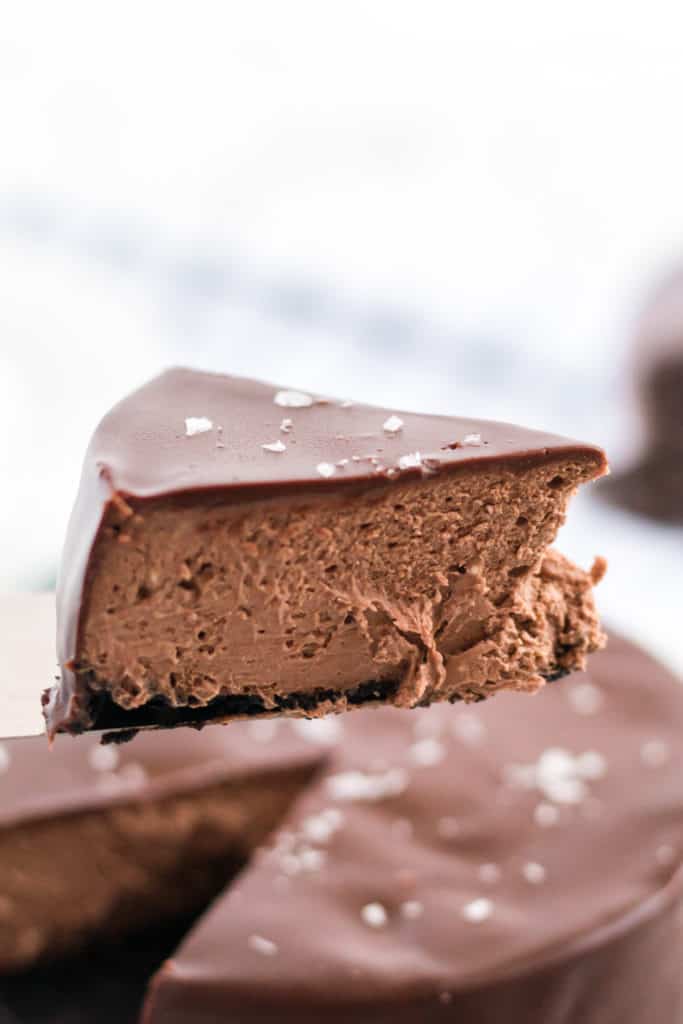
 While the texture is a little bit different, the final result is an incredible, rich and delicious cheesecake.
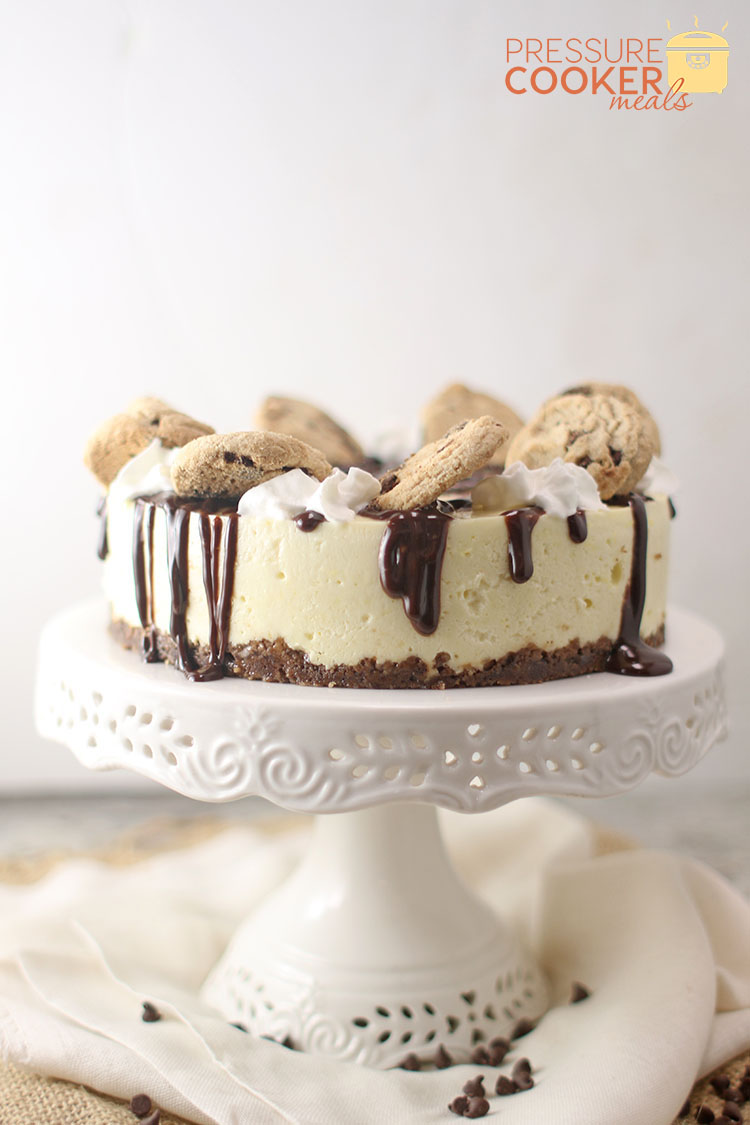
 The cheesecake batter is pretty standard, but adding in balls of chocolate chip cookie dough really makes it extra special. Then, as if it needed more yummines, I drizzled ganache on top. Ohmyword… so good!
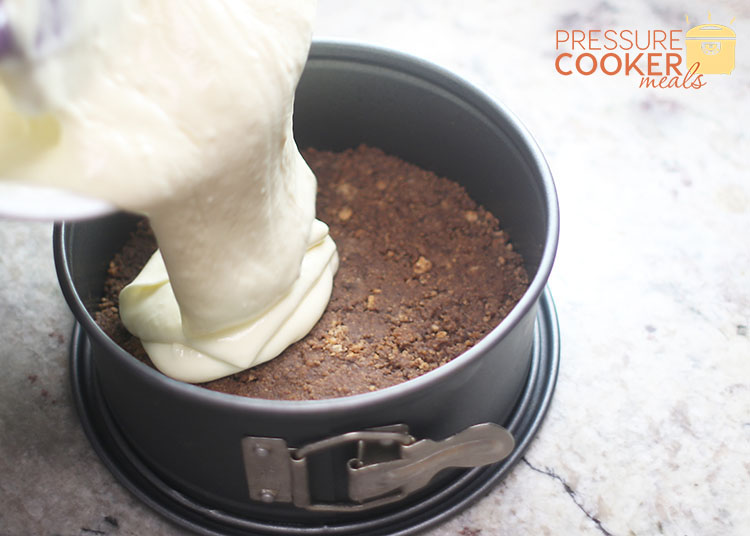
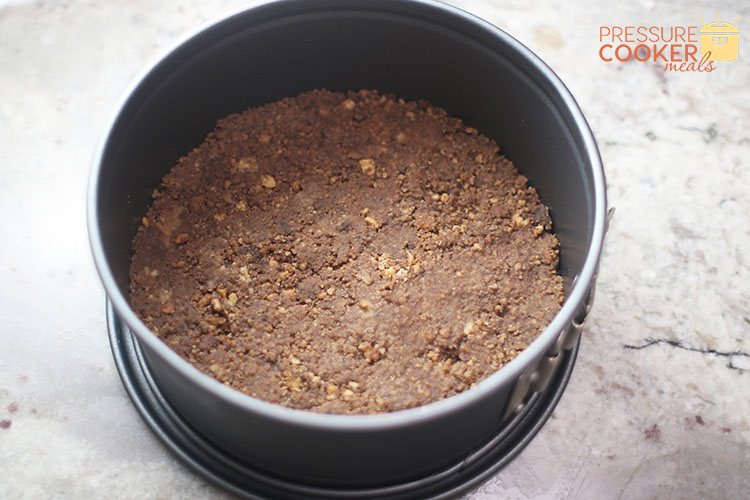 First, you want to prepare the cookie crust. This is the easist thing in the world. In a small bowl, mix together crushed chocolate chip cookies, sugar and melted butter. Press onto the bottom of a 7-inch springform pan and use the bottom of a glass to get into the corners – works great! Set aside.
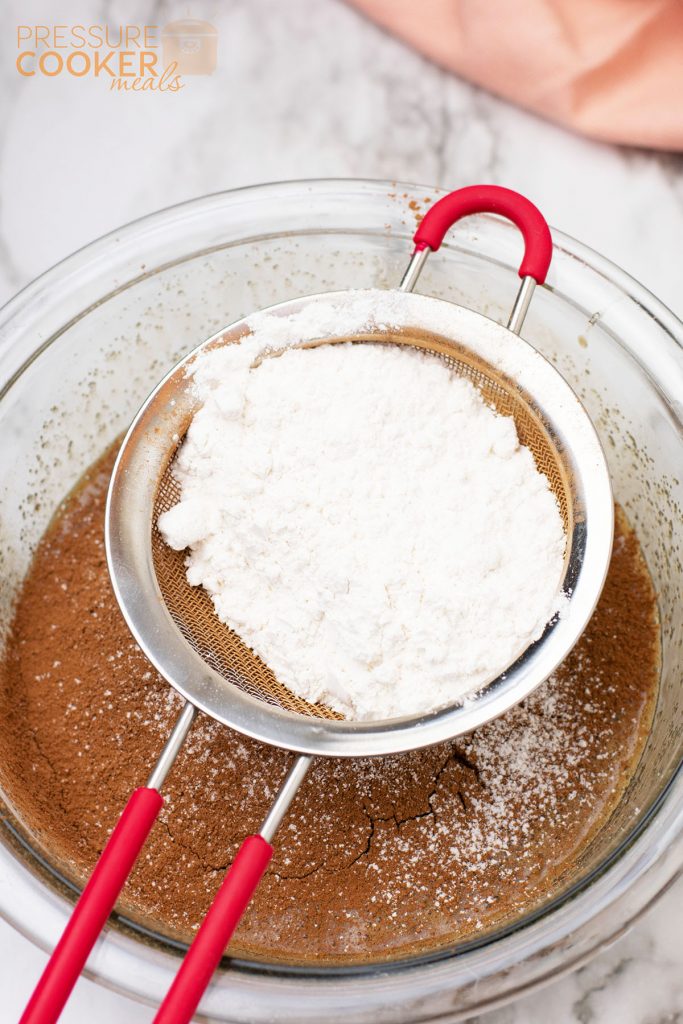
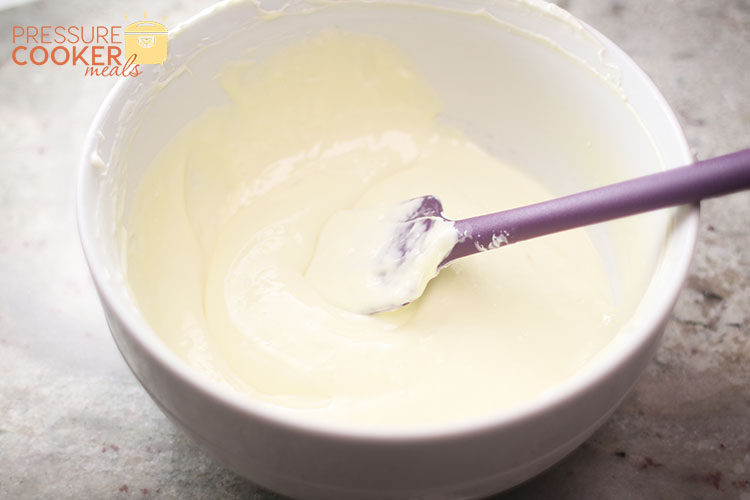 Next, mix up the filling. The secret to the filling is having the cream cheese at room temperature and mixing it until there are NO lumps. This could take several minutes of mixing with a hand mixer, but you want to make sure it’s super creamy and smooth!
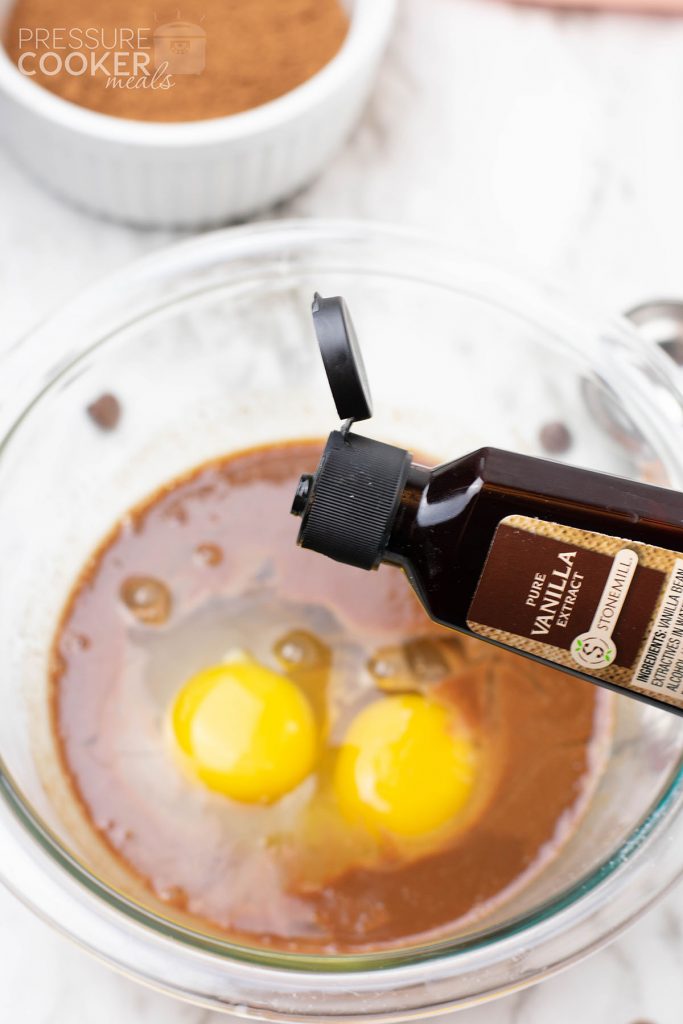
The last ingredient you’ll add to the filling (see details below) is the eggs. You’ll want to fold these in very gently with as little mixing as possible. I actually prick the yolks with cake tester then use a silicone spatula to mix it up – not an electric mixer!
Next, mix up the filling. The secret to the filling is having the cream cheese at room temperature and mixing it until there are NO lumps. This could take several minutes of mixing with a hand mixer, but you want to make sure it’s super creamy and smooth!
The last ingredient you’ll add to the filling (see details below) is the eggs. You’ll want to fold these in very gently with as little mixing as possible. I actually prick the yolks with cake tester then use a silicone spatula to mix it up – not an electric mixer!
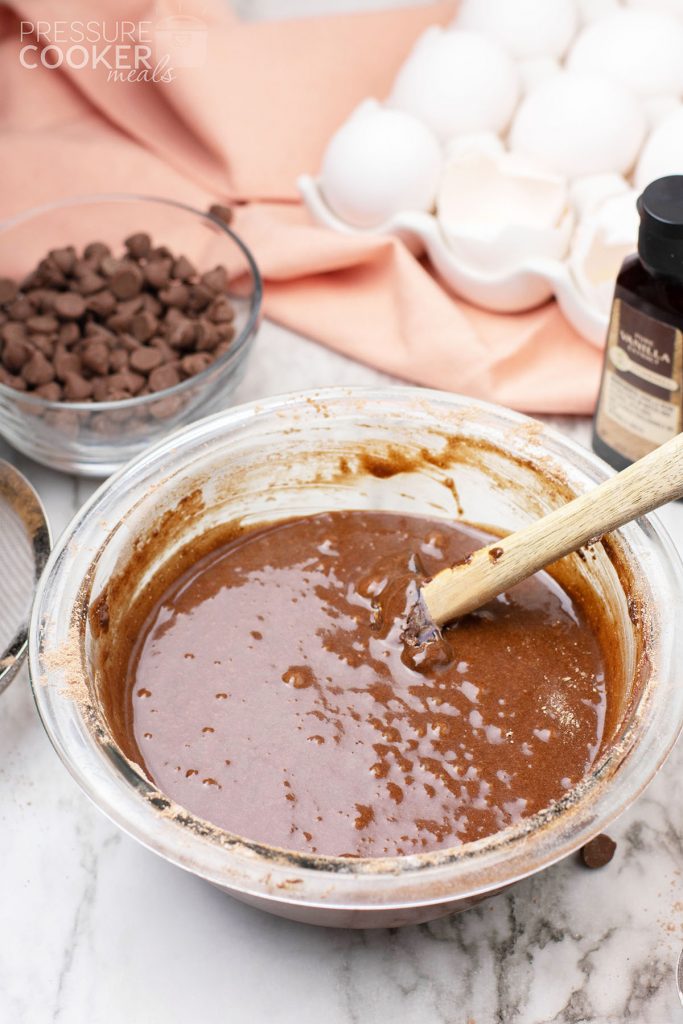
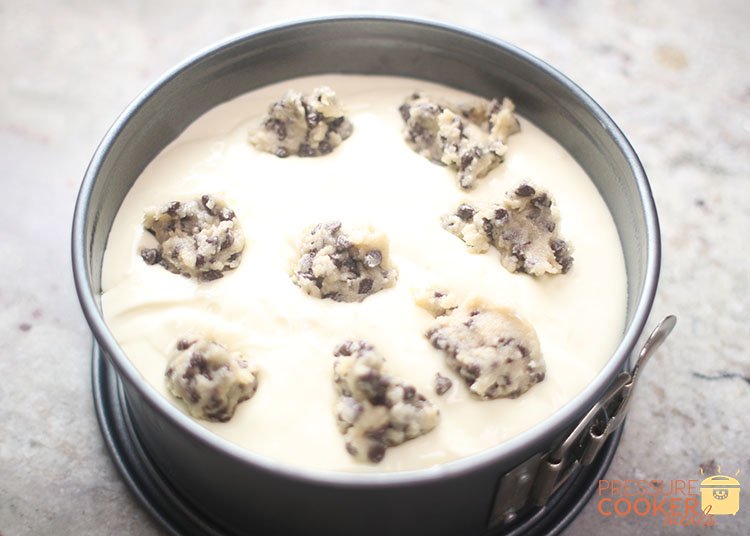 Next, in a small bowl, you’re going to make the cookie dough. When it’s finished, take small spoons of the cookie dough and place them on top of the batter.
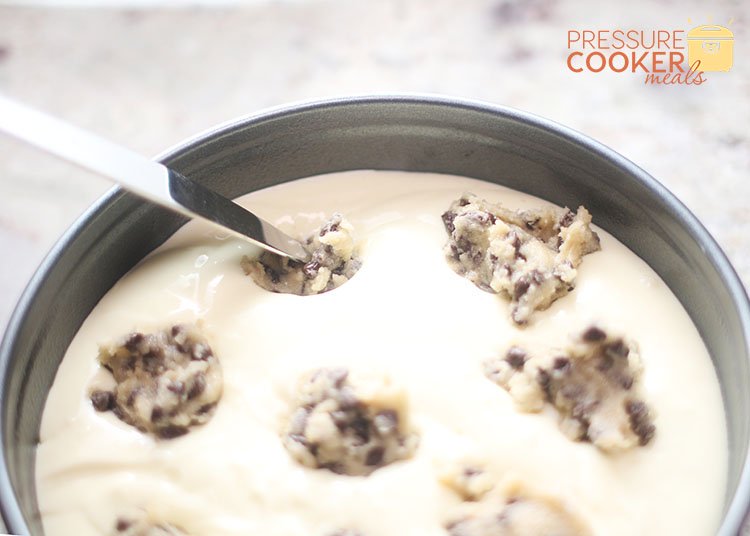
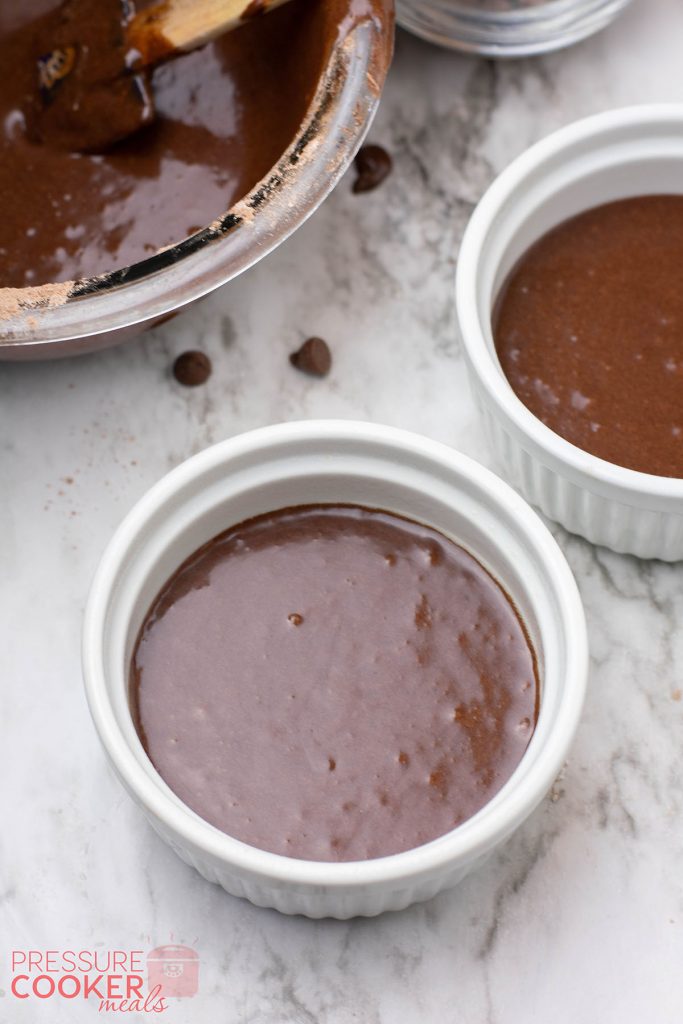
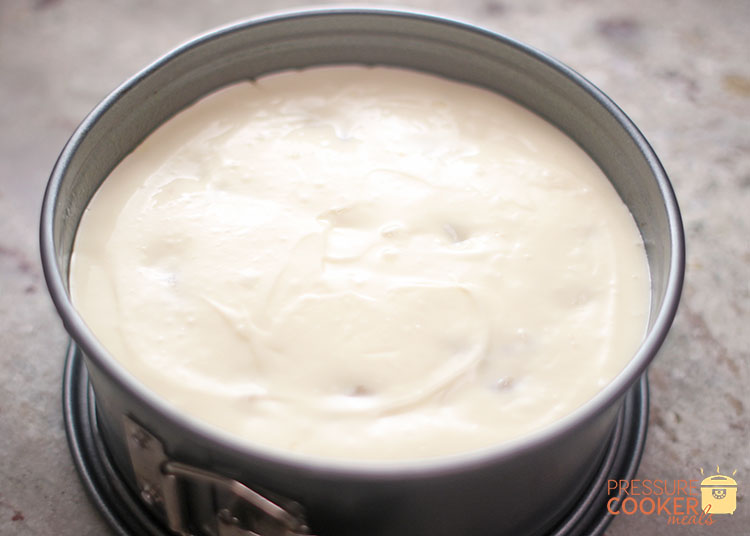 Use a butter knife to push the dough down and then smooth it over the top so that the cookie dough is completely covered.
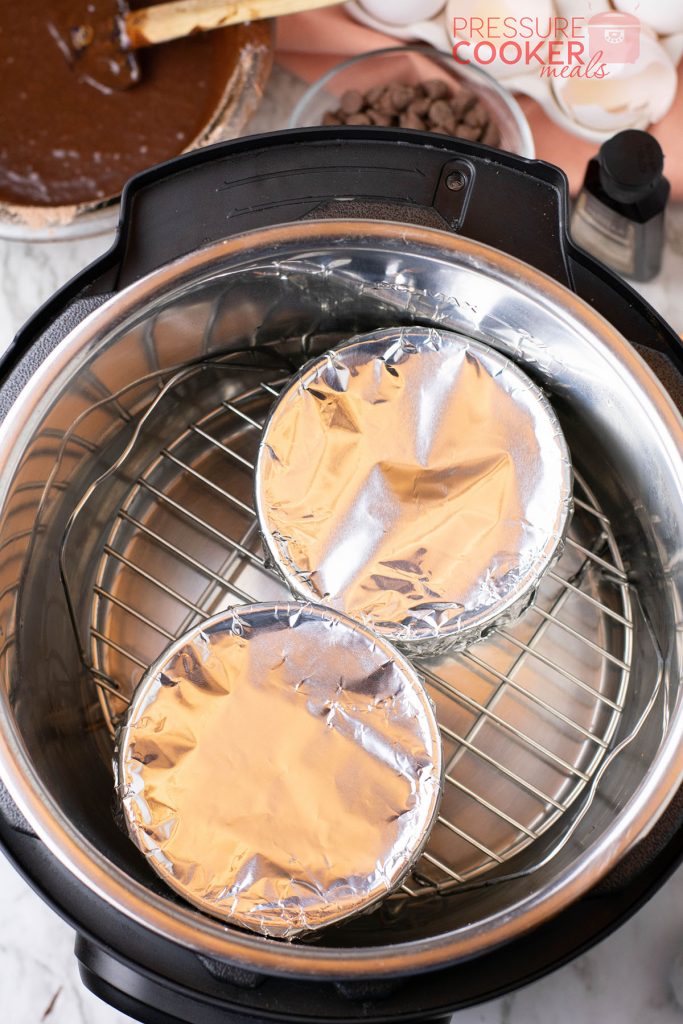
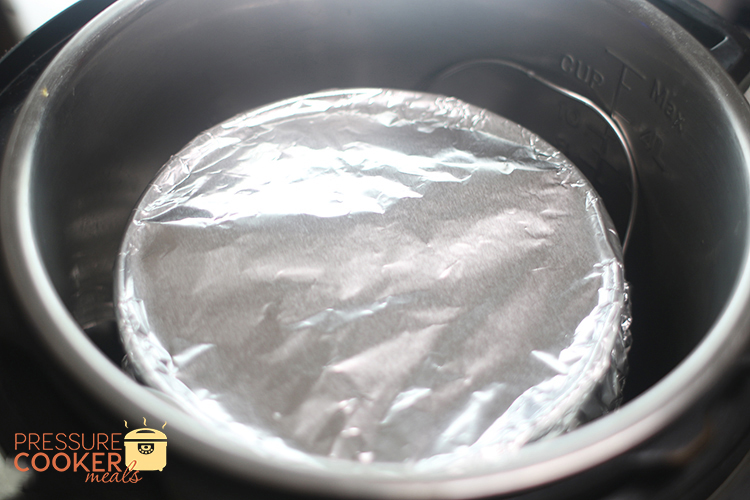 Last step before cooking… tightly cover your pan with aluminum foil – this is very important to prevent you from ending up with a soggy cheesecake. I like to wrap it completely, bottom and top. Then place the pan on the trivet in your Instant Pot. Pour 1 cup of water into the bottom, then seal the lid and cook on high pressure for 45 minutes.
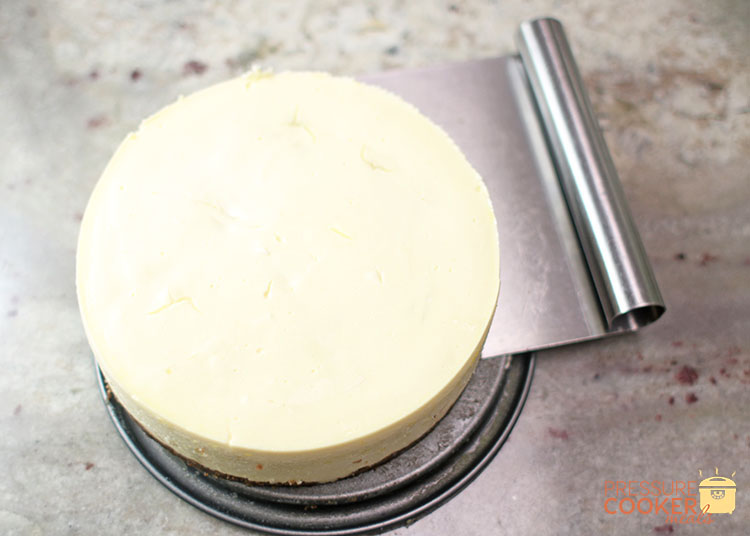
After it’s done, let it naturally release. Remove it from the pot, take off the foil and let it completely cool on a wire rack. It will look VERY jiggly at this point, but that’s okay! After it’s cooled, place the cheesecake in the fridge to cool overnight. Keep it in the springform pan!!!
Last step before cooking… tightly cover your pan with aluminum foil – this is very important to prevent you from ending up with a soggy cheesecake. I like to wrap it completely, bottom and top. Then place the pan on the trivet in your Instant Pot. Pour 1 cup of water into the bottom, then seal the lid and cook on high pressure for 45 minutes.
After it’s done, let it naturally release. Remove it from the pot, take off the foil and let it completely cool on a wire rack. It will look VERY jiggly at this point, but that’s okay! After it’s cooled, place the cheesecake in the fridge to cool overnight. Keep it in the springform pan!!!
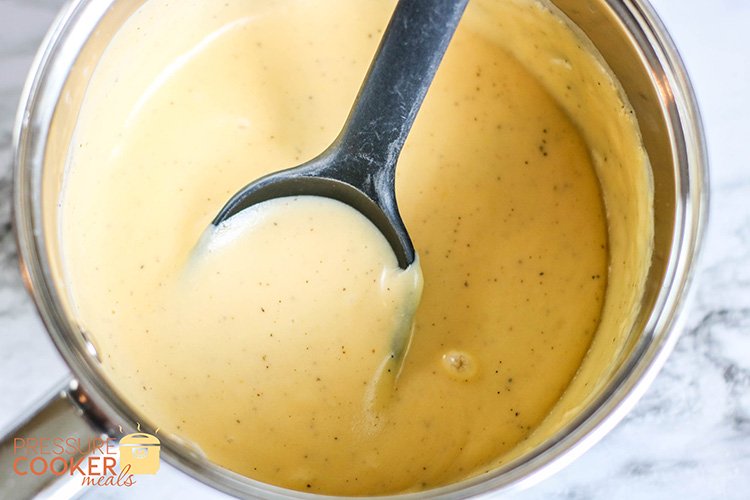
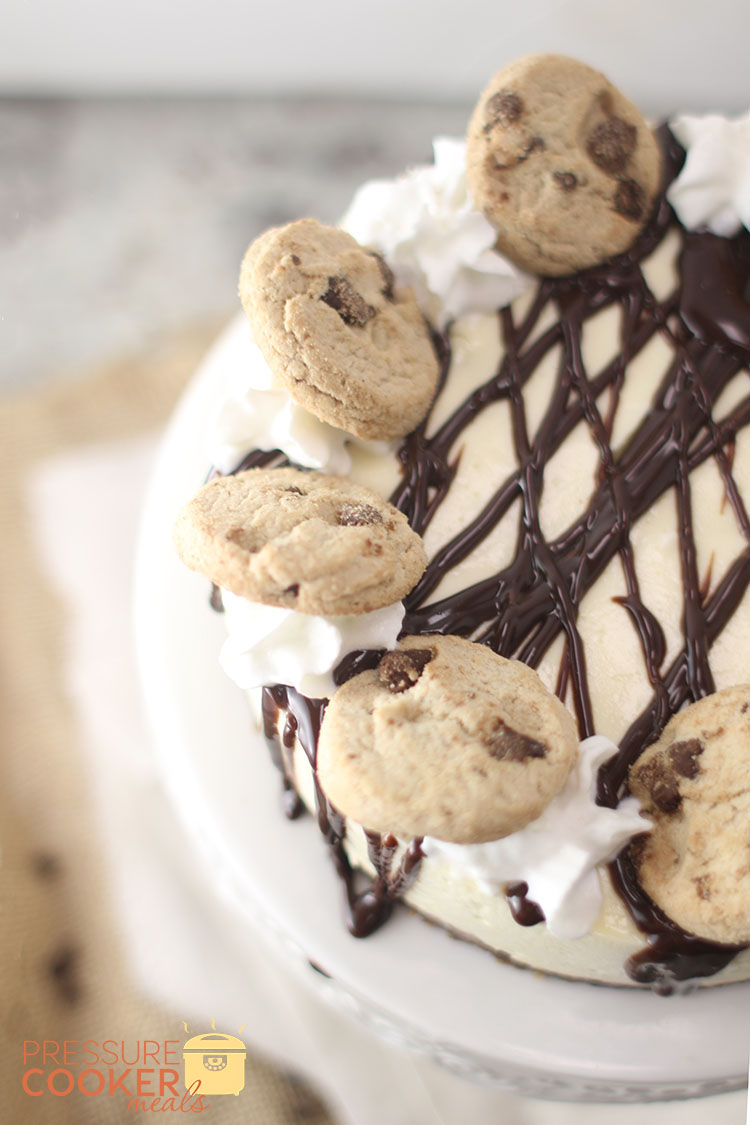
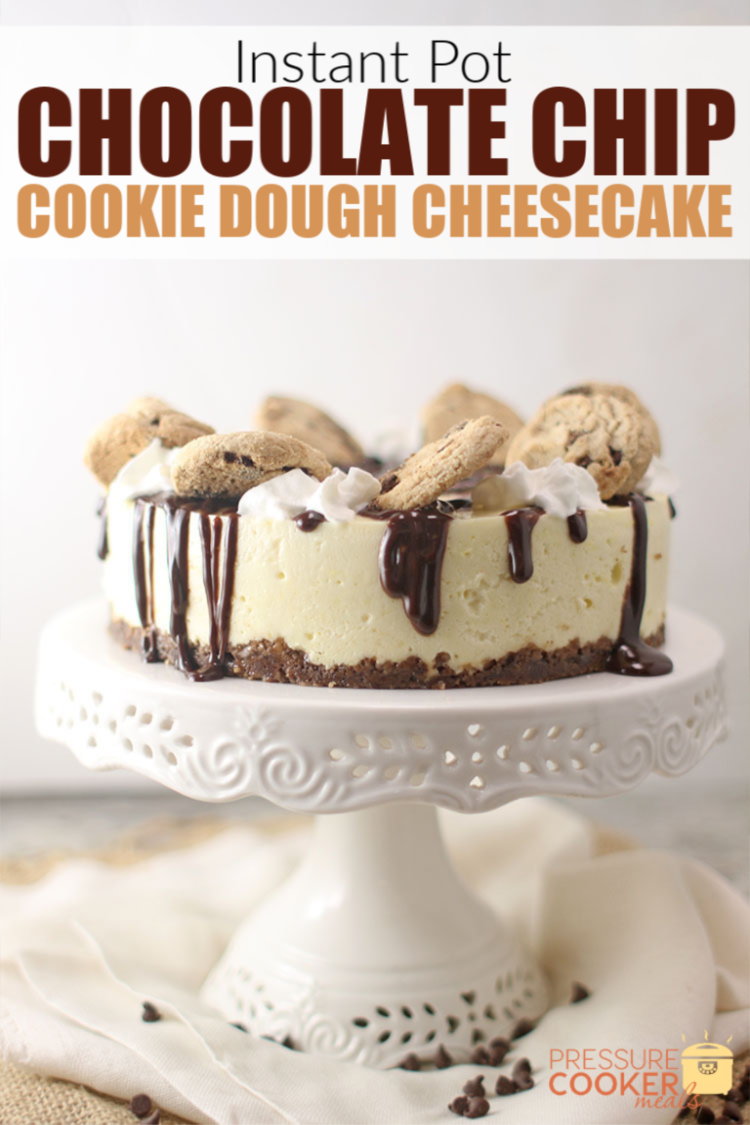
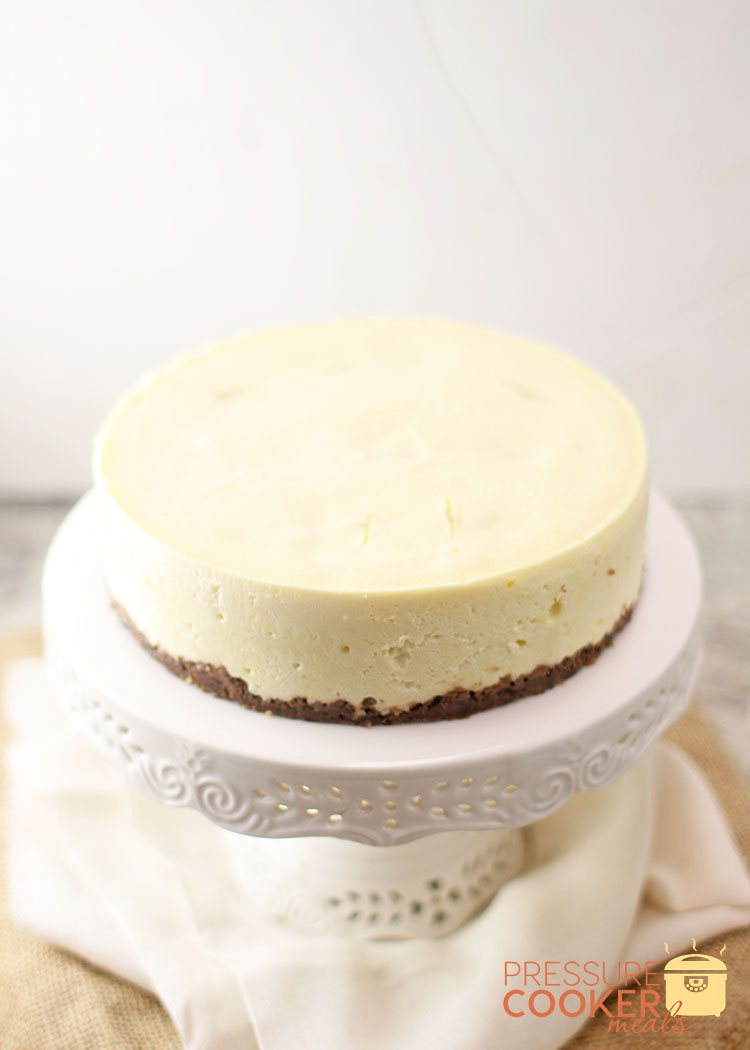 Now you’re ready to make it pretty and extra delish! The recipe is below, but basically you’re going to mix warm cream and chocolate to create an amazing drippy chocolate glaze.
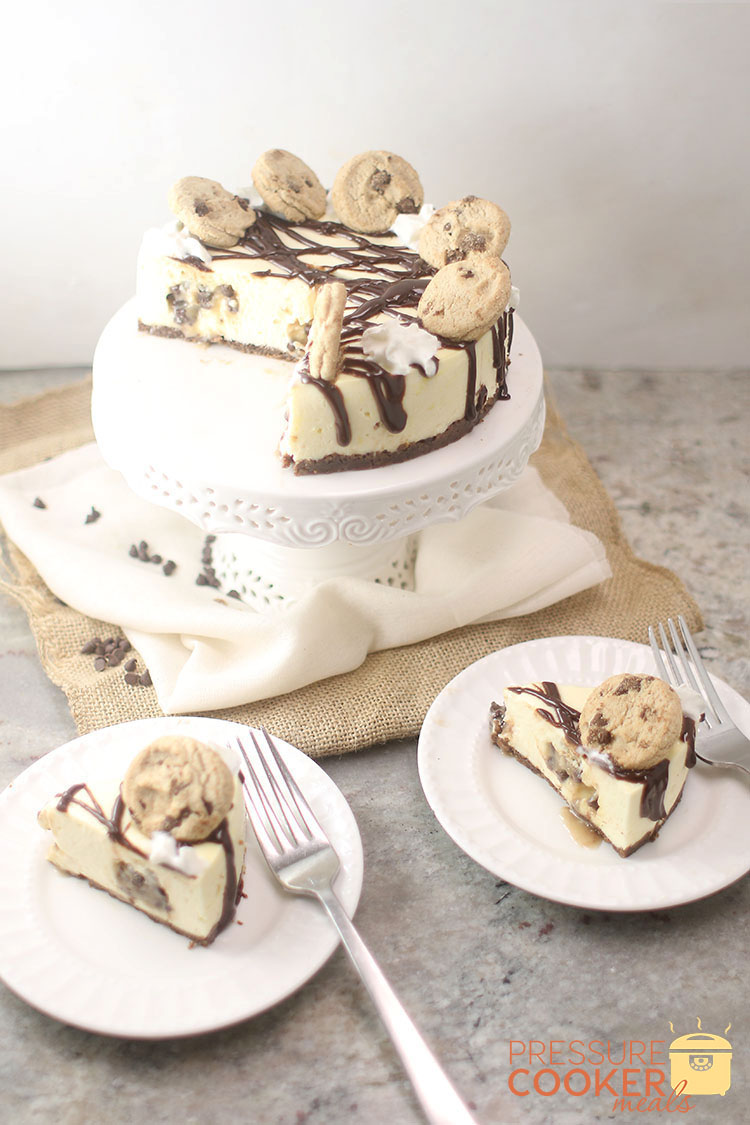
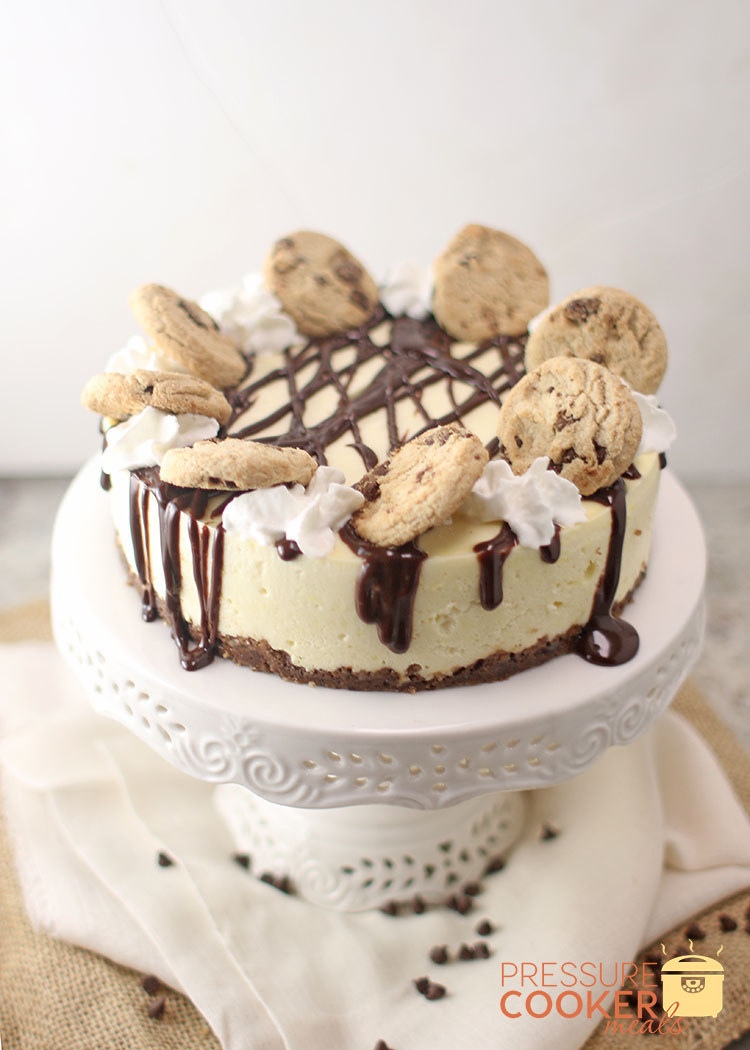 Then drizzle it all over. I also added some fresh whipped cream and a few chocolate chip cookies just for good measure. 😉


 Inst
Inst